
OCZ Vendetta 2 vs. Zalman 9700 – benefits of bare heatpipes to solid contact plate.

Test rig:
EVGA 790i
Q9450 lapped@ 3.552GHz ~(1.304v-1.296v) with drop, mirror
finish
Antec Formula 5, spread with card on proc
2GB (2x1GB) PC3-10600@ 1.7v 888MHz
8800GT (G92) with Thermaltake DuOrb, mirror finish, FanMate set
to low
PCP&P 610Watt PSU
Antec 900 with front two fans set to low, 39CFM, rear vent at
medium, 56CFM
5.25’’: One ROM, iMon media device, hotswap with Seagate 500GB
Seagate 500GB in top cage bottom slot almost in line with video
card
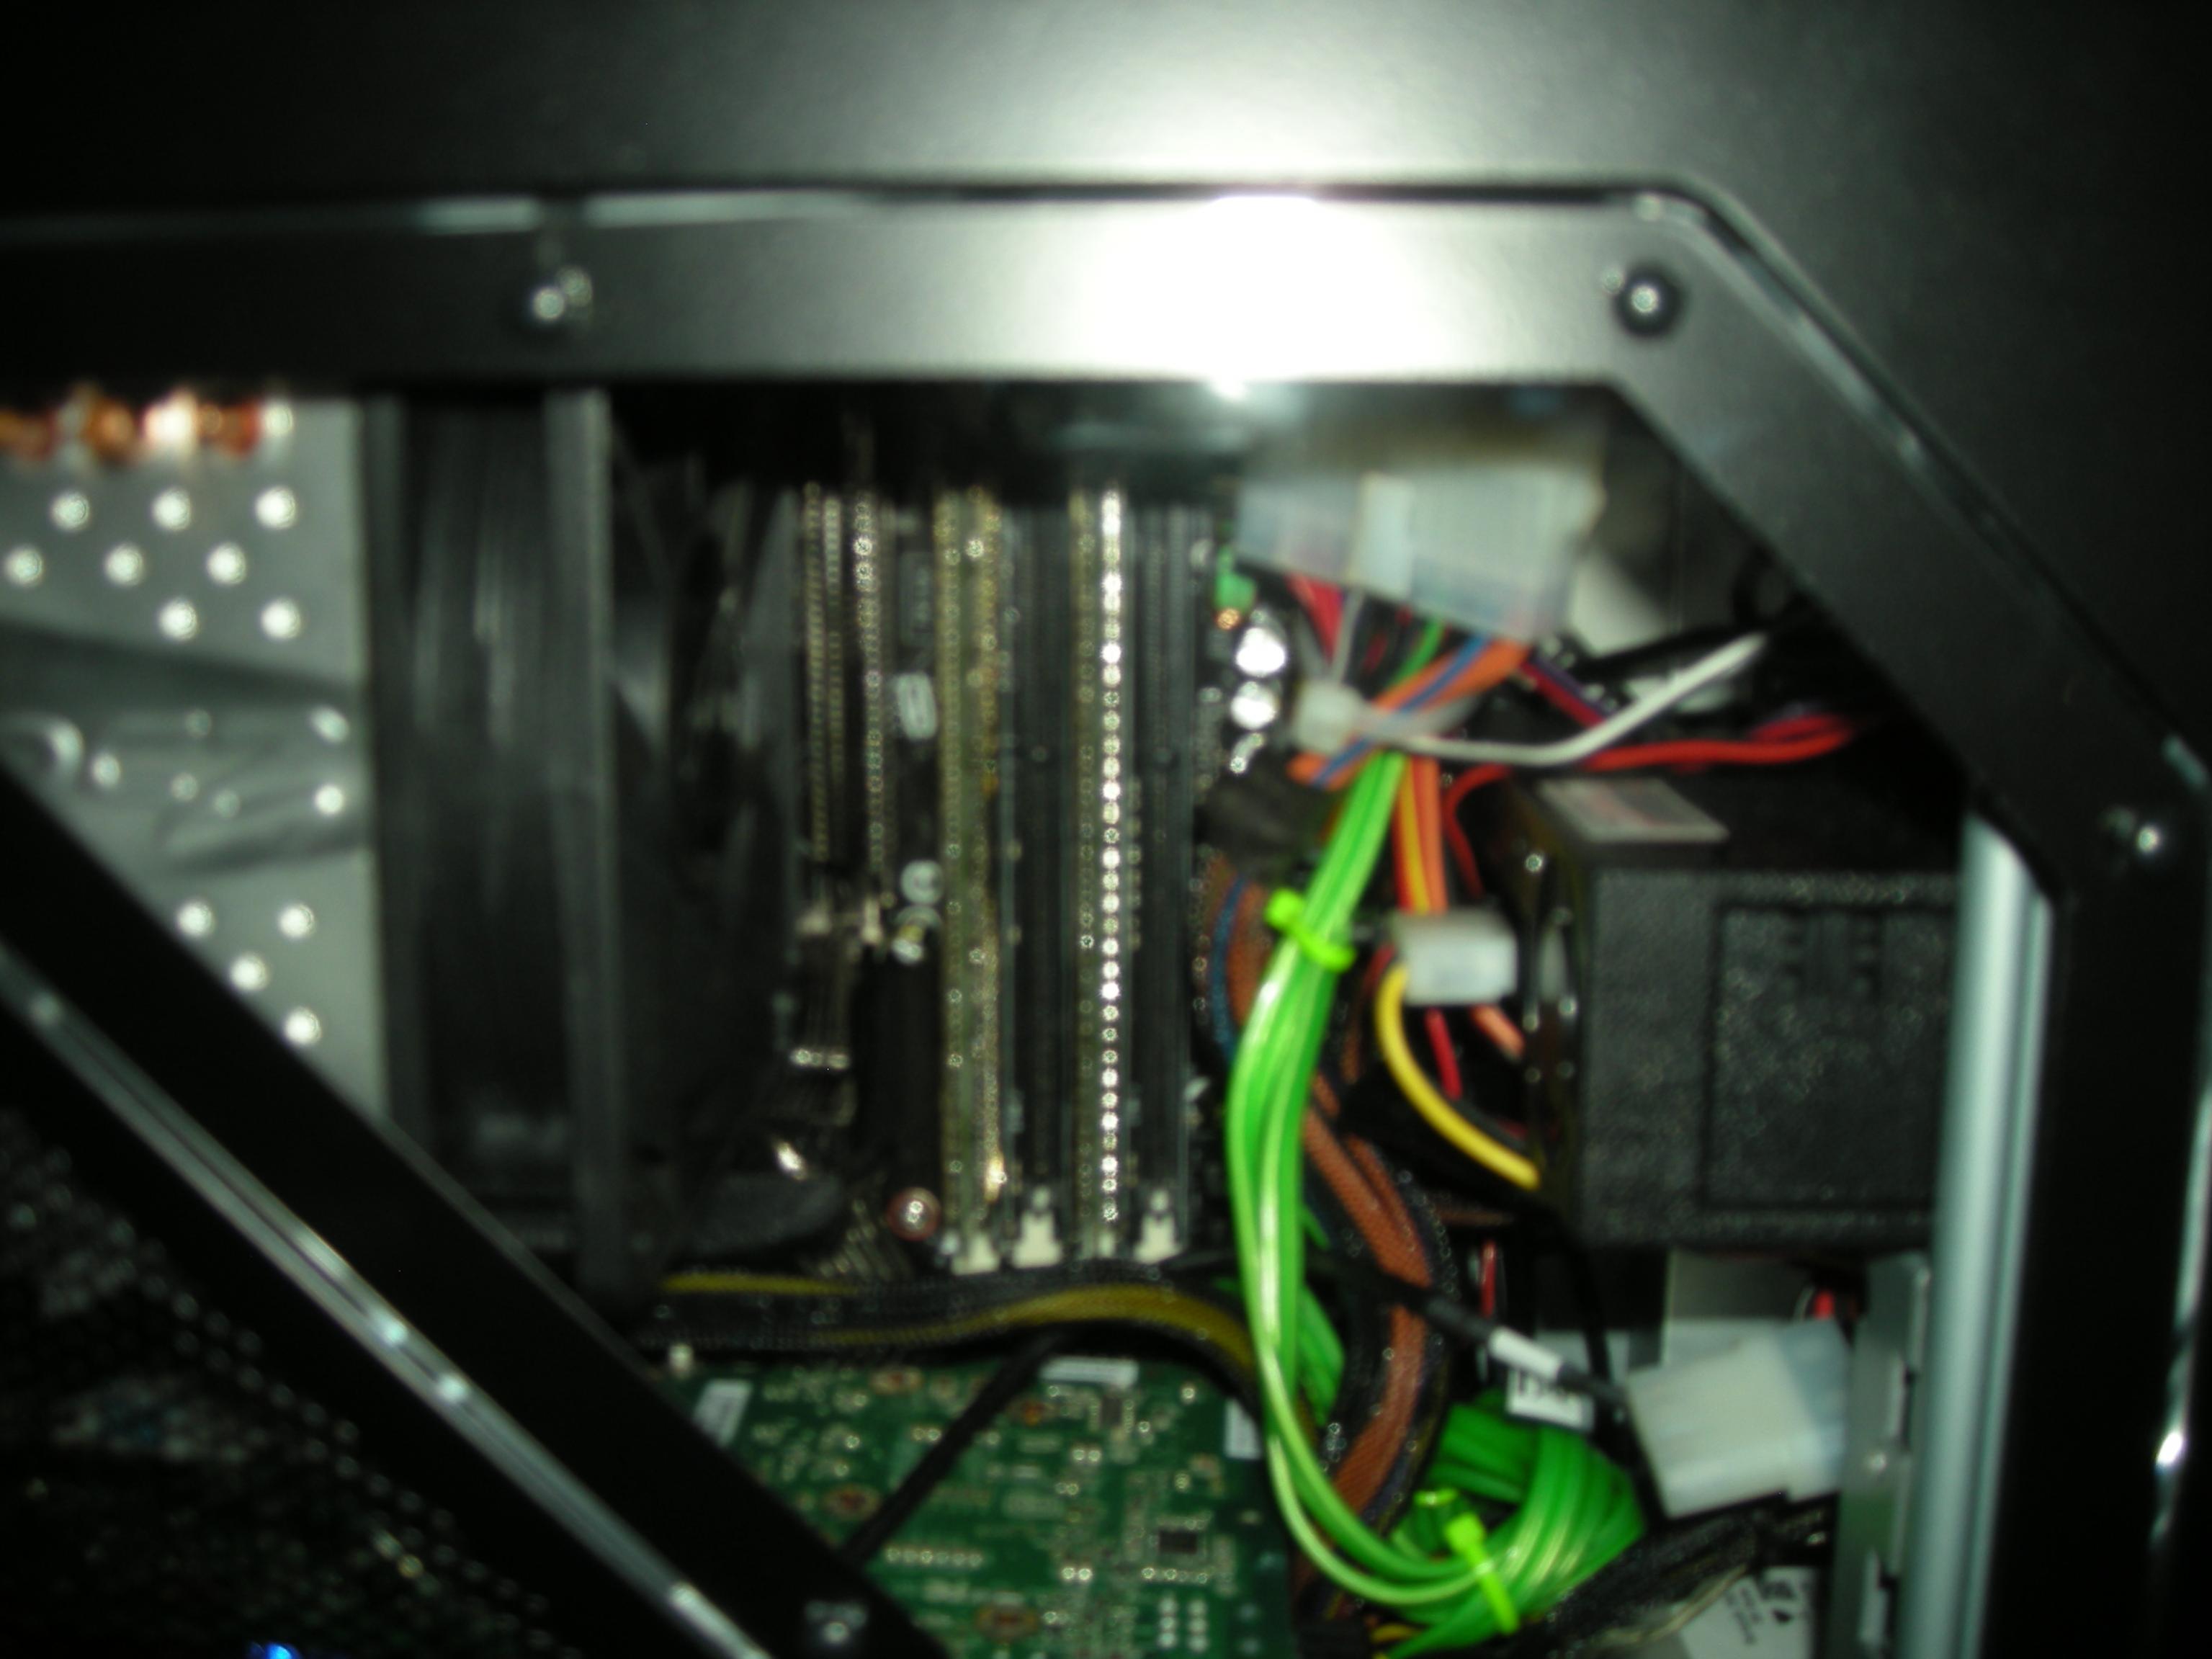
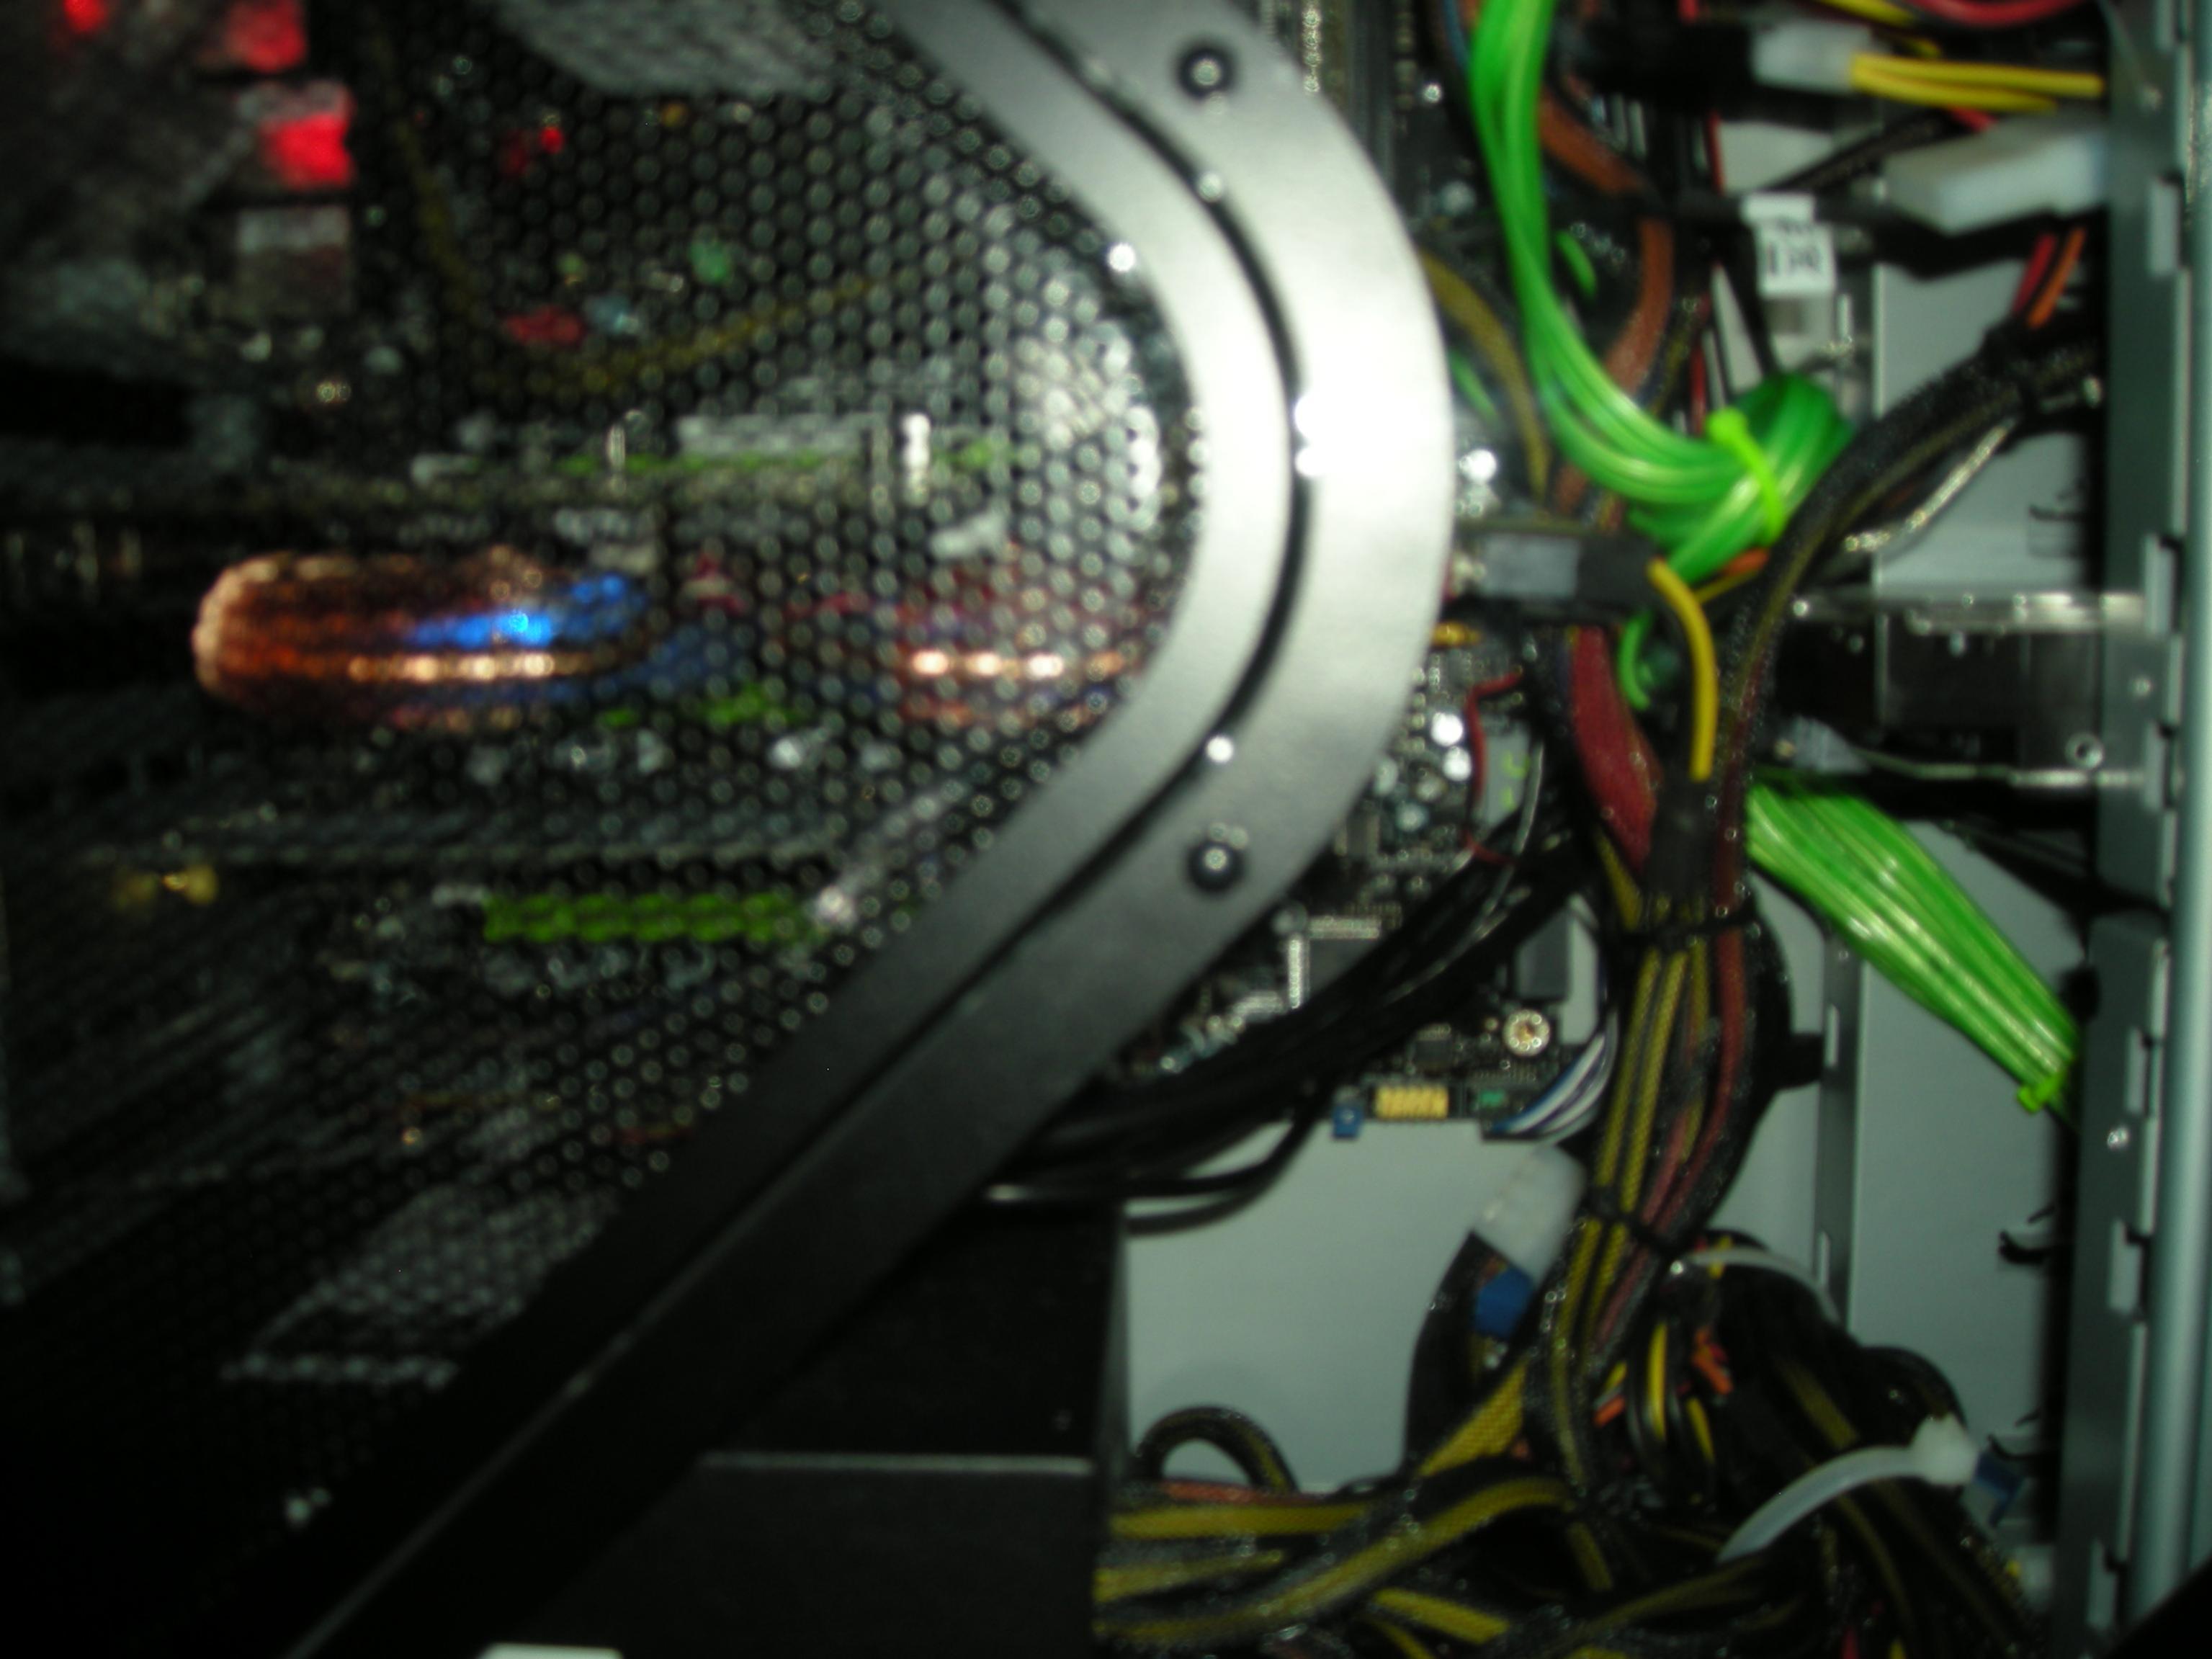
Some cable management done to bundle and clear airflow, ref pic.
<o:p> </o:p>
To start off, the major difference between the OCZ and Zalman is the fact that the OCZ has exposed heat pipes for its contact while the Zalman uses an extreme mirror contact surface. If you are not familiar with the OCZ it is almost a copy of the Ximatech but I was able to find this locally at MicroCenter while the Zalman was purchased at Fry’s Electronics. The other difference that is plainly apparent with the two heatsinks is the Zalman using a backplate system with a mounting bracket for 775 while the OCZ comes with a set of clip feet that screw onto the base.
<o:p> </o:p>
The OCZ, though fairly unknown to a lot of people, is one heat sink that has nothing to hide and bares it all.
Price: $49.99 retail, MicroCenter
Sockets: 754, 755, 939, AM2, LGA775
Heatpipes: 3 exposed copper pipes placed in aluminum block
Fan: 120mm, 800-1500RPM, 65-81 CFM, 20-32 dBA, rifle barring,
4-pin
Weight: unknown
Sink: Aluminum fins
-The fan for this unit does not come attached so it can be replaced with another. The fan itself mounts using a rubber pop rivets that can be reused, though they are hard to get in.
-Fan install on the sink and the rivets to hold it were the second hardest part of install, I ended up using a pair of pliers to pull them through while I pushed and twisted from the other side. This fan is extremely tall and will not fit all cases; I have a few millimeters to a few centimeters in several places and had to maneuver it in to fit around the board’s heat piping. The hardest part of this install was actually getting the clip feet down and to hold because they are extremely tight and the small amount of clearance everywhere. The clip feet are very strong and hold the sink into better than average contact with the processor compared to stocks and some other sinks, doesn’t wiggle even after several installs. When working with this massive beast expect to be cut, I always am but I do not realize it until the blood has dried; the fins are extremely thin and sharp.
<o:p> </o:p>
The Zalman, the sink might hide some of its secrets or it is simply trying to contain the beast within.
Price: $69.99 retail Fry’s Electronics (purchased on sale $19.99)
Sockets: LGA775, 940, 939, 754, AM2
Heat pipes: 3 copper pipes
Fan: 1250-2800RPM, 19.5-25 dBA, 2 ball bearings, 3 pin (there is a 4 pin model)
Weight: 690g heatsink, 764g total weight
Sink: copper fins
The first problem with this baby is if it’s an upgrade to a system or you just forget to do it when you start putting parts together you have to pull the motherboard out and get a back plate on. Once that issue is resolved and you place the sink on in a LGA775 there is a spring clip that uses screws to secure itself to the mounting bracket used and its close enough to the fan and fins it makes it difficult to apply enough pressure and screw them in at the same time. Despite all of this the screws are still actually better in my opinion then a clip that the AM2, 939, 940, and 754, though the clip system now is so easy and nice, use because once thermal expansion starts to take place they can expand and relieve the tension some allowing the heatsink to shift. This is all minimal to fractional but this is a review and I am supposed to take these into consideration. This install went easy compared to the Vendetta, once the backplate was installed and my computer was put back together.
I am doing the thermal test in a two story house that has two AC units and digital thermostats. All of the blinds in the room I am using are closed to help reduce extra heating and the overhead fan is turned on. I am using a separate thermal reader besides the thermostat for comparison; both devices are reading the same temp. All ambient temps are recorded at the top of every hour. Also, I am using my regular new rig with everything installed to give IRL review. The front two fans are pulling more air then the rear vent is so there is a small air damming effect so I have thermal reads with the side off and on, also I have temperatures with the top fan of the case on and off, blows inwards onto the CPU, for an extra temperature and to show the effect of bad air flow.
<o:p> </o:p>
There was an ambient of 77-78F off of the digital thermostat during the test period. Also temperatures are being recorded using reattempt which uses a Timex for the 45nm cores of 95C. [FONT="]I let the motherboard control the OCZ fan this time, 30C=1% and 70C=100.[/FONT]
<o:p> </o:p>
OCZ temp idle 41-35-33-46C max low.
Zalman temp idle 40-34-33-44C max low.
<o:p> </o:p>
OZC temp load 65-59-59-69C max high
Zalman temp load 66-59-59-68C max high.
<o:p> </o:p>
Zalman temp load 66-59-59-68C fan high
Zalman temp load 66-59-59-68C fan low
<o:p> </o:p>
Zalman temp idle 46-41-34-46C fan low
Zalman temp idle 55-47-45-57C fan high
<o:p> </o:p>
Here are the temps for load with the side on and top fan off, my 24/7 settings all applied, these are not max but the average temps that are being read.
<o:p> </o:p>
OCZ temp load 60-55-56-67C
Zalman temp load 62-55-56-65C fan low
Zalman temp load 59-53-49-60C fan high
<o:p> </o:p>
This is the short version for variances including the side off the case, back on, the top fan. For the idle temps I used a time frame of ~10 minutes while with the load temps I use a time frame of 20-30 minutes. For my review I was simply looking what max that each cooler would hit in that time, not the average because when a computer is left for a weekend or any amount of time the real concern is the max temps that it will achieve not the average or low because those temperatures are not the ones that dictate shut offs or hard locks for 24/7 use. This comparison shows, to me, that use of clip feet is not really an issue for peak heat outputs, though on average the backplate showed better temps. Now this might be because of the exposed heatpipes or because of the better forced contact through the backplate and retention bracket of the LGA775 that the Zalman 9700 uses. Despite all these facts the OCZ Vendetta2 holds up to the same temp max standards as that of the Zalman 9700.
<o:p> </o:p>
There is a difference in performance on high settings but the best thing about the Zalman being the better contact as showed by core3 and core2, a lot smaller spread in all core temps.
<o:p> </o:p>
[FONT="]The next phase in this test is getting the hardware to mount the Vendetta2 with the backplate of the 9700 to see if the pressure difference makes a difference the temps of the heatsink.
Variances: Did not do thermal reads of intake air.
Superbad.
[/FONT]
EVGA 790i
Q9450 lapped@ 3.552GHz ~(1.304v-1.296v) with drop, mirror
finish
Antec Formula 5, spread with card on proc
2GB (2x1GB) PC3-10600@ 1.7v 888MHz
8800GT (G92) with Thermaltake DuOrb, mirror finish, FanMate set
to low
PCP&P 610Watt PSU
Antec 900 with front two fans set to low, 39CFM, rear vent at
medium, 56CFM
5.25’’: One ROM, iMon media device, hotswap with Seagate 500GB
Seagate 500GB in top cage bottom slot almost in line with video
card
Some cable management done to bundle and clear airflow, ref pic.
<o:p> </o:p>
To start off, the major difference between the OCZ and Zalman is the fact that the OCZ has exposed heat pipes for its contact while the Zalman uses an extreme mirror contact surface. If you are not familiar with the OCZ it is almost a copy of the Ximatech but I was able to find this locally at MicroCenter while the Zalman was purchased at Fry’s Electronics. The other difference that is plainly apparent with the two heatsinks is the Zalman using a backplate system with a mounting bracket for 775 while the OCZ comes with a set of clip feet that screw onto the base.
<o:p> </o:p>
The OCZ, though fairly unknown to a lot of people, is one heat sink that has nothing to hide and bares it all.
Price: $49.99 retail, MicroCenter
Sockets: 754, 755, 939, AM2, LGA775
Heatpipes: 3 exposed copper pipes placed in aluminum block
Fan: 120mm, 800-1500RPM, 65-81 CFM, 20-32 dBA, rifle barring,
4-pin
Weight: unknown
Sink: Aluminum fins
-The fan for this unit does not come attached so it can be replaced with another. The fan itself mounts using a rubber pop rivets that can be reused, though they are hard to get in.
-Fan install on the sink and the rivets to hold it were the second hardest part of install, I ended up using a pair of pliers to pull them through while I pushed and twisted from the other side. This fan is extremely tall and will not fit all cases; I have a few millimeters to a few centimeters in several places and had to maneuver it in to fit around the board’s heat piping. The hardest part of this install was actually getting the clip feet down and to hold because they are extremely tight and the small amount of clearance everywhere. The clip feet are very strong and hold the sink into better than average contact with the processor compared to stocks and some other sinks, doesn’t wiggle even after several installs. When working with this massive beast expect to be cut, I always am but I do not realize it until the blood has dried; the fins are extremely thin and sharp.
<o:p> </o:p>
The Zalman, the sink might hide some of its secrets or it is simply trying to contain the beast within.
Price: $69.99 retail Fry’s Electronics (purchased on sale $19.99)
Sockets: LGA775, 940, 939, 754, AM2
Heat pipes: 3 copper pipes
Fan: 1250-2800RPM, 19.5-25 dBA, 2 ball bearings, 3 pin (there is a 4 pin model)
Weight: 690g heatsink, 764g total weight
Sink: copper fins
The first problem with this baby is if it’s an upgrade to a system or you just forget to do it when you start putting parts together you have to pull the motherboard out and get a back plate on. Once that issue is resolved and you place the sink on in a LGA775 there is a spring clip that uses screws to secure itself to the mounting bracket used and its close enough to the fan and fins it makes it difficult to apply enough pressure and screw them in at the same time. Despite all of this the screws are still actually better in my opinion then a clip that the AM2, 939, 940, and 754, though the clip system now is so easy and nice, use because once thermal expansion starts to take place they can expand and relieve the tension some allowing the heatsink to shift. This is all minimal to fractional but this is a review and I am supposed to take these into consideration. This install went easy compared to the Vendetta, once the backplate was installed and my computer was put back together.
I am doing the thermal test in a two story house that has two AC units and digital thermostats. All of the blinds in the room I am using are closed to help reduce extra heating and the overhead fan is turned on. I am using a separate thermal reader besides the thermostat for comparison; both devices are reading the same temp. All ambient temps are recorded at the top of every hour. Also, I am using my regular new rig with everything installed to give IRL review. The front two fans are pulling more air then the rear vent is so there is a small air damming effect so I have thermal reads with the side off and on, also I have temperatures with the top fan of the case on and off, blows inwards onto the CPU, for an extra temperature and to show the effect of bad air flow.
<o:p> </o:p>
There was an ambient of 77-78F off of the digital thermostat during the test period. Also temperatures are being recorded using reattempt which uses a Timex for the 45nm cores of 95C. [FONT="]I let the motherboard control the OCZ fan this time, 30C=1% and 70C=100.[/FONT]
<o:p> </o:p>
OCZ temp idle 41-35-33-46C max low.
Zalman temp idle 40-34-33-44C max low.
<o:p> </o:p>
OZC temp load 65-59-59-69C max high
Zalman temp load 66-59-59-68C max high.
<o:p> </o:p>
Zalman temp load 66-59-59-68C fan high
Zalman temp load 66-59-59-68C fan low
<o:p> </o:p>
Zalman temp idle 46-41-34-46C fan low
Zalman temp idle 55-47-45-57C fan high
<o:p> </o:p>
Here are the temps for load with the side on and top fan off, my 24/7 settings all applied, these are not max but the average temps that are being read.
<o:p> </o:p>
OCZ temp load 60-55-56-67C
Zalman temp load 62-55-56-65C fan low
Zalman temp load 59-53-49-60C fan high
<o:p> </o:p>
This is the short version for variances including the side off the case, back on, the top fan. For the idle temps I used a time frame of ~10 minutes while with the load temps I use a time frame of 20-30 minutes. For my review I was simply looking what max that each cooler would hit in that time, not the average because when a computer is left for a weekend or any amount of time the real concern is the max temps that it will achieve not the average or low because those temperatures are not the ones that dictate shut offs or hard locks for 24/7 use. This comparison shows, to me, that use of clip feet is not really an issue for peak heat outputs, though on average the backplate showed better temps. Now this might be because of the exposed heatpipes or because of the better forced contact through the backplate and retention bracket of the LGA775 that the Zalman 9700 uses. Despite all these facts the OCZ Vendetta2 holds up to the same temp max standards as that of the Zalman 9700.
<o:p> </o:p>
There is a difference in performance on high settings but the best thing about the Zalman being the better contact as showed by core3 and core2, a lot smaller spread in all core temps.
<o:p> </o:p>
[FONT="]The next phase in this test is getting the hardware to mount the Vendetta2 with the backplate of the 9700 to see if the pressure difference makes a difference the temps of the heatsink.
Variances: Did not do thermal reads of intake air.
Superbad.
[/FONT]
0
Comments
Gigabyte GA-P35-DS4 Rev. 2.1, Q6600@3.5GHz:
Ambient: 76F/24.5C
Conditions: Full load, 2 X Folding@Home clients running + screensaver
Core temps: 60, 58, 58, 61
FAN: Antec Tri-Cool at 2033RPM
Arctic Silver 5, cured
This V2 cools within 2C (full load) of of one of my Thermalright Ultra 120 Extremes (system No. 1) and is dead even with the other U120E (system No. 5). Both U120Es are heavily lapped. The V2 is bone stock except for the fan.
I will be very interested to see what temp differences you get after mounting the V2 with a back plate. I've got a spare backplate in my parts bin from a previous cooler (don't remember which one!). I'll let you try first.
K, I don't know what method you used for applying TIM. Here's the method I used: filled the gaps between the base and the heatpipes then applied two parallel lines, one each to the spacers (base) between the heatpipes. It's a little bit difficult, but appears to work well.
If and when you lap the base, be ever so careful! You will be working with very soft, thin copper. There are already pictures on the Internet of lapped heatpipe direct touch heatsinks....with gaping holes in the pipes.