My current 3D Printing project
I decided that I wanted one of two things for my 40th birthday last year. A 3D printer or a '66 Chevelle. Since one is much more expensive than the other (and takes up a massive amount of garage space), the decision was simple.
So I picked up http://www.flashforge-usa.com/shop/3d-printers/creator-dual-extruder.html for a good price (about $100 less than listed on their site) and started to work.
After a few months of tweaking and tuning and learning and false starts and picking up a glass print bed, I finally got to the point where I was comfortable tackling a large project (also, my wife got tired of all the little plastic trinkets I was leaving around the house and asked when I was going to print something useful) with long print times and many pieces.
I've now started printing a full-size 3D Catan set (up to 6 players), complete with magnetic brackets so that everything will simply snap together and we won't have to worry about things like warping cardboard and table bumps.
For the main tiles, I'm using this set: http://www.thingiverse.com/thing:26979. One of the cool features is that it has recesses for roads and settlements/cities (and eventually knights for when I get REALLY brave), and spots for the number tiles, which will help keep everything neater.
Since my print bed isn't large enough to print a full edge, I'm going to go with individual water tiles with the correct placement of ports. Plain water tiles: http://www.thingiverse.com/thing:261449, and water tiles with placement for ports: http://www.thingiverse.com/thing:360187
The player pieces (settlements, cities, and roads), and port tiles will be taken from this set: http://www.thingiverse.com/thing:1238980
The number tiles will be from here, because they have the A-Z assignment, which makes placement easy: http://www.thingiverse.com/thing:112018
And to tie it all together, I'll be using these magnetic bases which allow me to drop in a 3mm ball magnet and seal it all together with the tile: http://www.thingiverse.com/thing:565756
All in all, my goal is to get printing and base coat painting done by sometime in the next 30 days. If I do no other hobby-level stuff between now and then, I may be able to bring the completed set with me to Expo.
As of today (4/19), I have printed 4 sheep tiles and the desert tile. A pair takes roughly 5 hours to print. Many of the other bits will go faster, some will go slower. I wish I could figure out a good support model so I could print the brackets in stacks, but they wouldn't be smooth at all and that wouldn't be good for adherence to the tiles.
Will update with pictures as they come.







Comments
Picture time!
First set of tiles (6 sheep) is printed: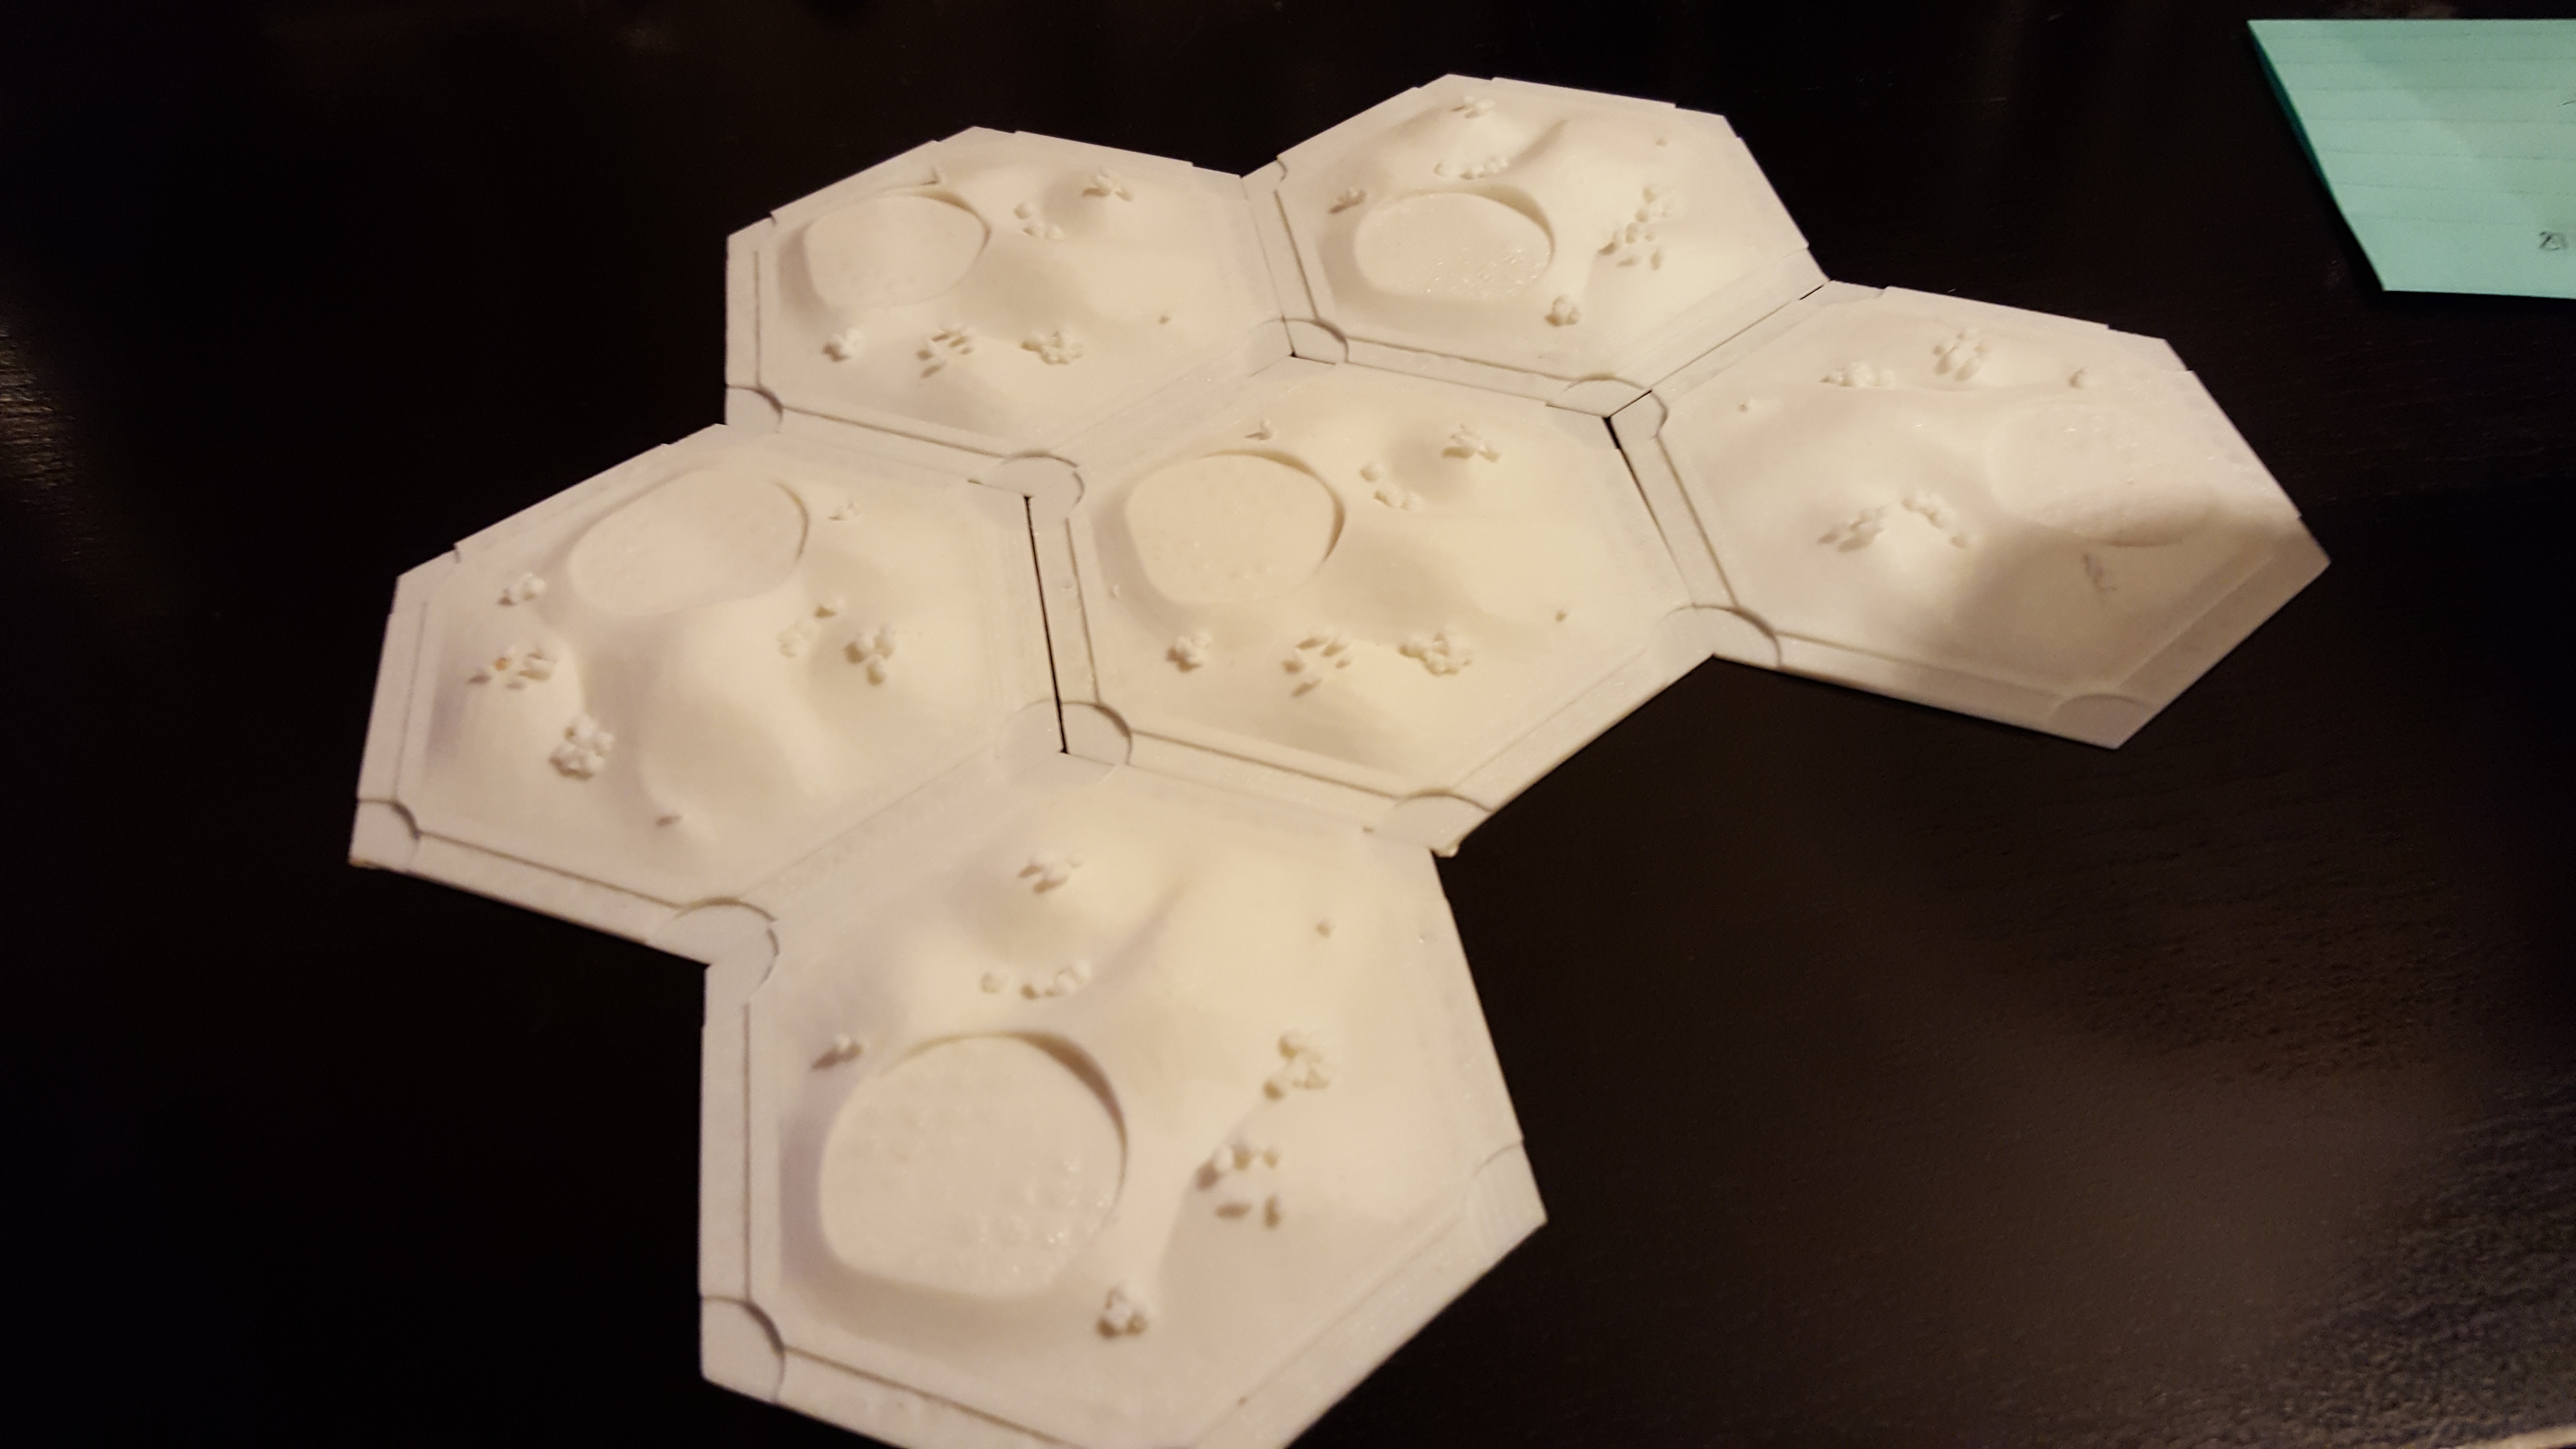
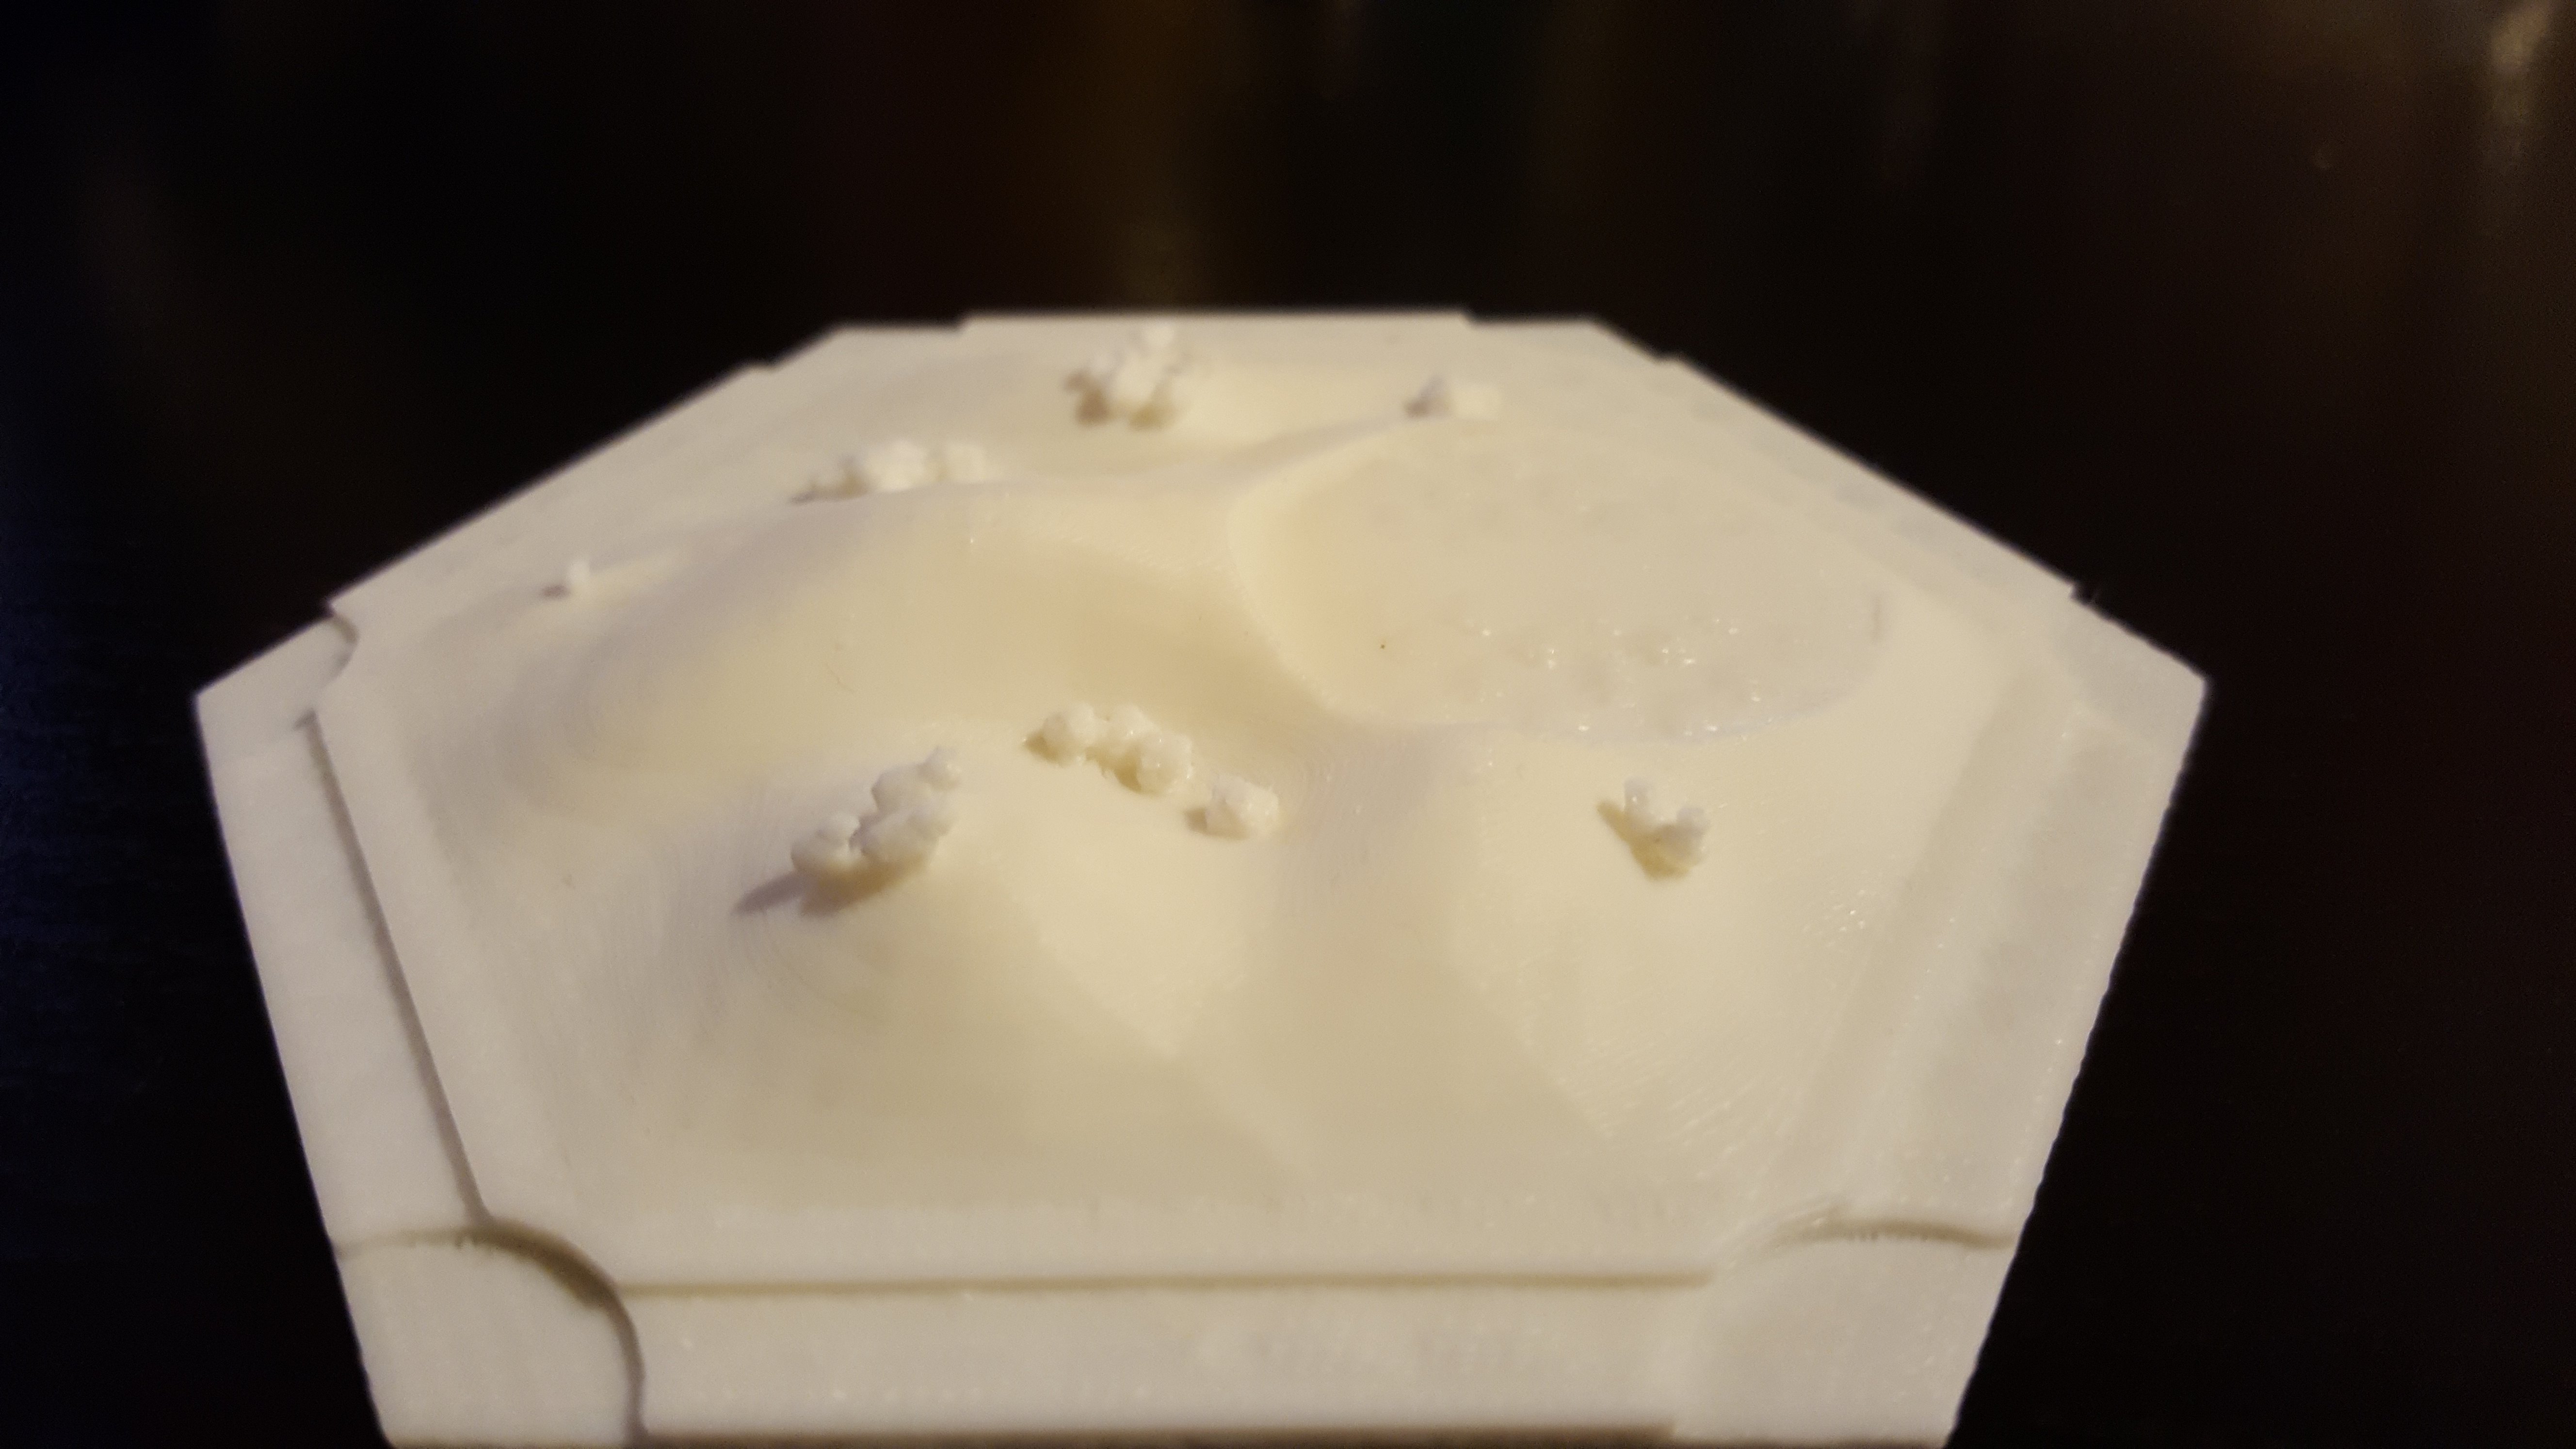
I really love this sheep tile model. It has little sheep on the hills.
Today's haul: 6 wheat tiles. Starting wood tonight. Printing is actually going smoother than I thought, time wise.
Those are looking really good. I look forward to see the rest!
I may need to reprint a pair of the wheat tiles, because I had to pause for an extended period to be on a conference call. It resumed ok, but the bottom of the base is a little bit warped.
How will you make the robber?
a buttplug CAD
Debating on a regular robber model, or the tornado model I see in a lot of the sets on Thingiverse.
Failing that:
So, the forest tiles are proving to be a bit of a challenge. The slicer takes about 3 hours to even generate the gcode, and I'm having trouble getting it sent to the printer. May have to use a different model that doesn't literally have 200 cones to model.
More progress, more pictures.
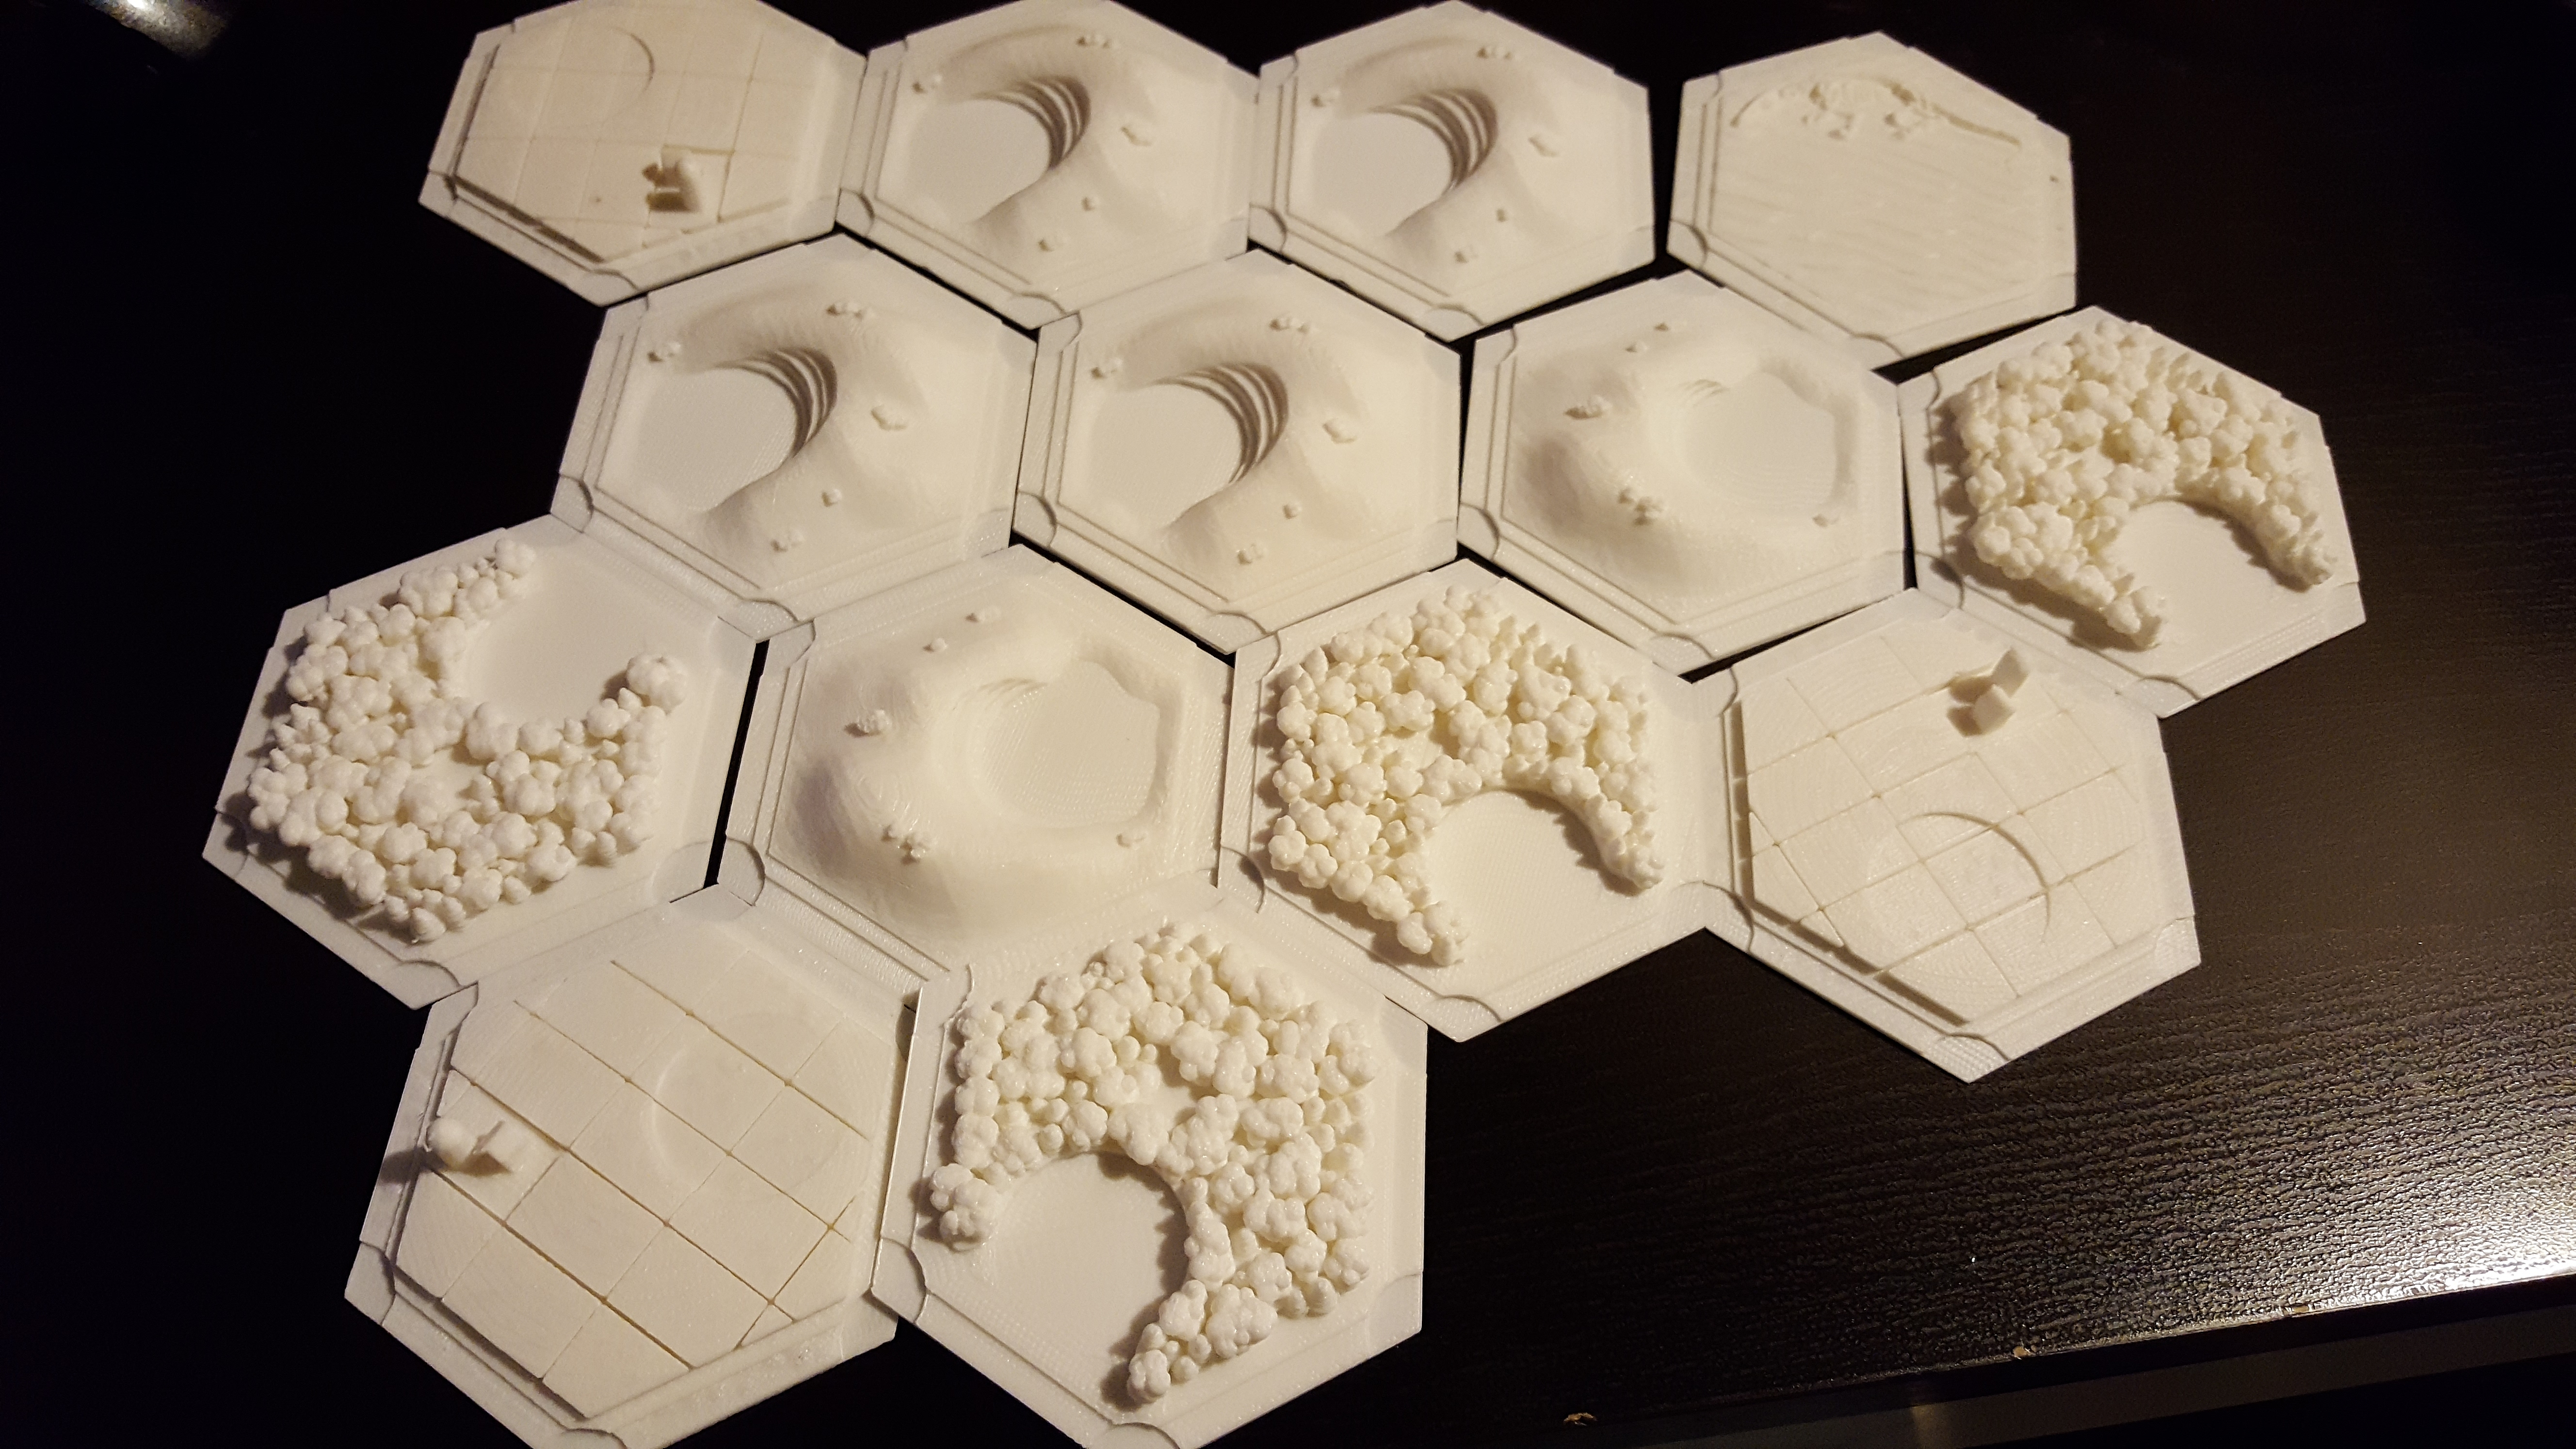
Sheep, wheat, clay, wood, and the desert.
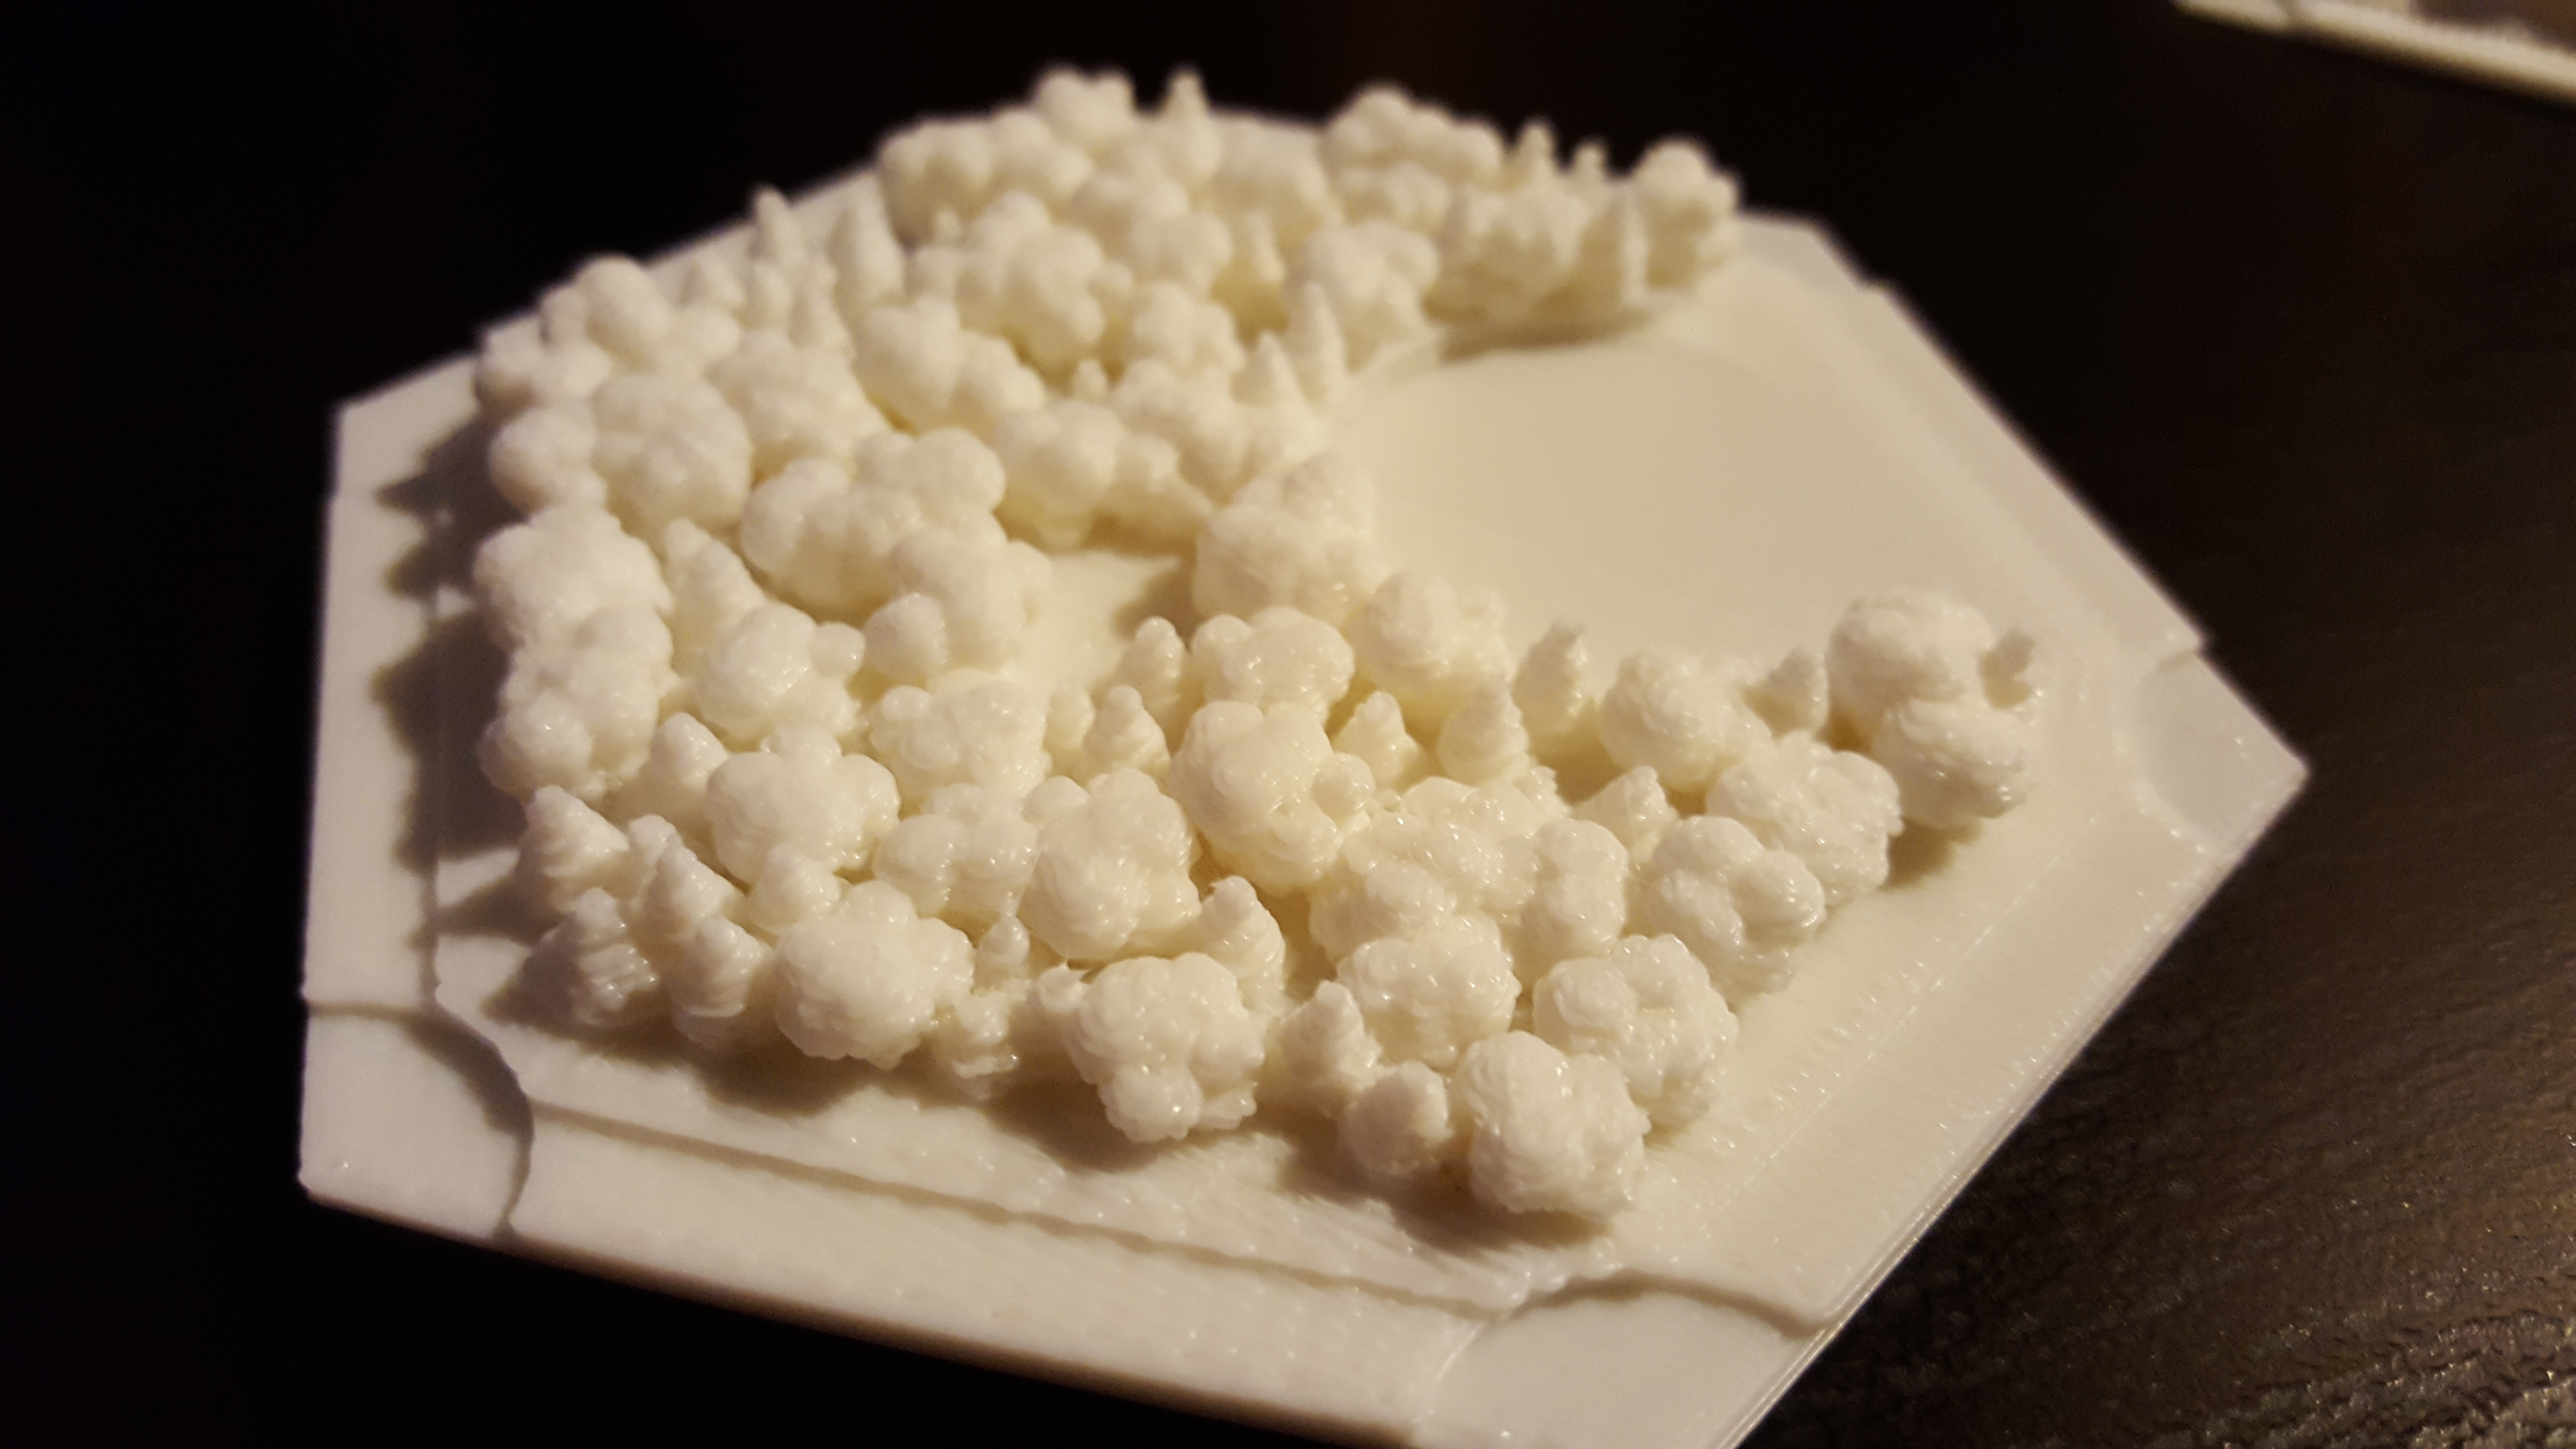
The forest/wood tile was the worst of the bunch so far. Took forever to process, even after kicking it back to 200micron. I've been printing the rest at 200, the level of detail provided by 100 doesn't show enough to be worth the 5 hour print times.
Here's a single shot of the wood. TONS of individual little trees.
Are you going to be painting/coloring in any fashion, or using the pieces as is?
Looking very cool!
Yep. They'll be painted to look like actual game pieces. Once I'm done printing, I'll do a base coat of the general color (gray for the mountain, green for the sheep and wood, etc), and do some detail work. The edges and corners will be brown like dirt paths.
I'll have more pictures tonight/tomorrow, but today's update:
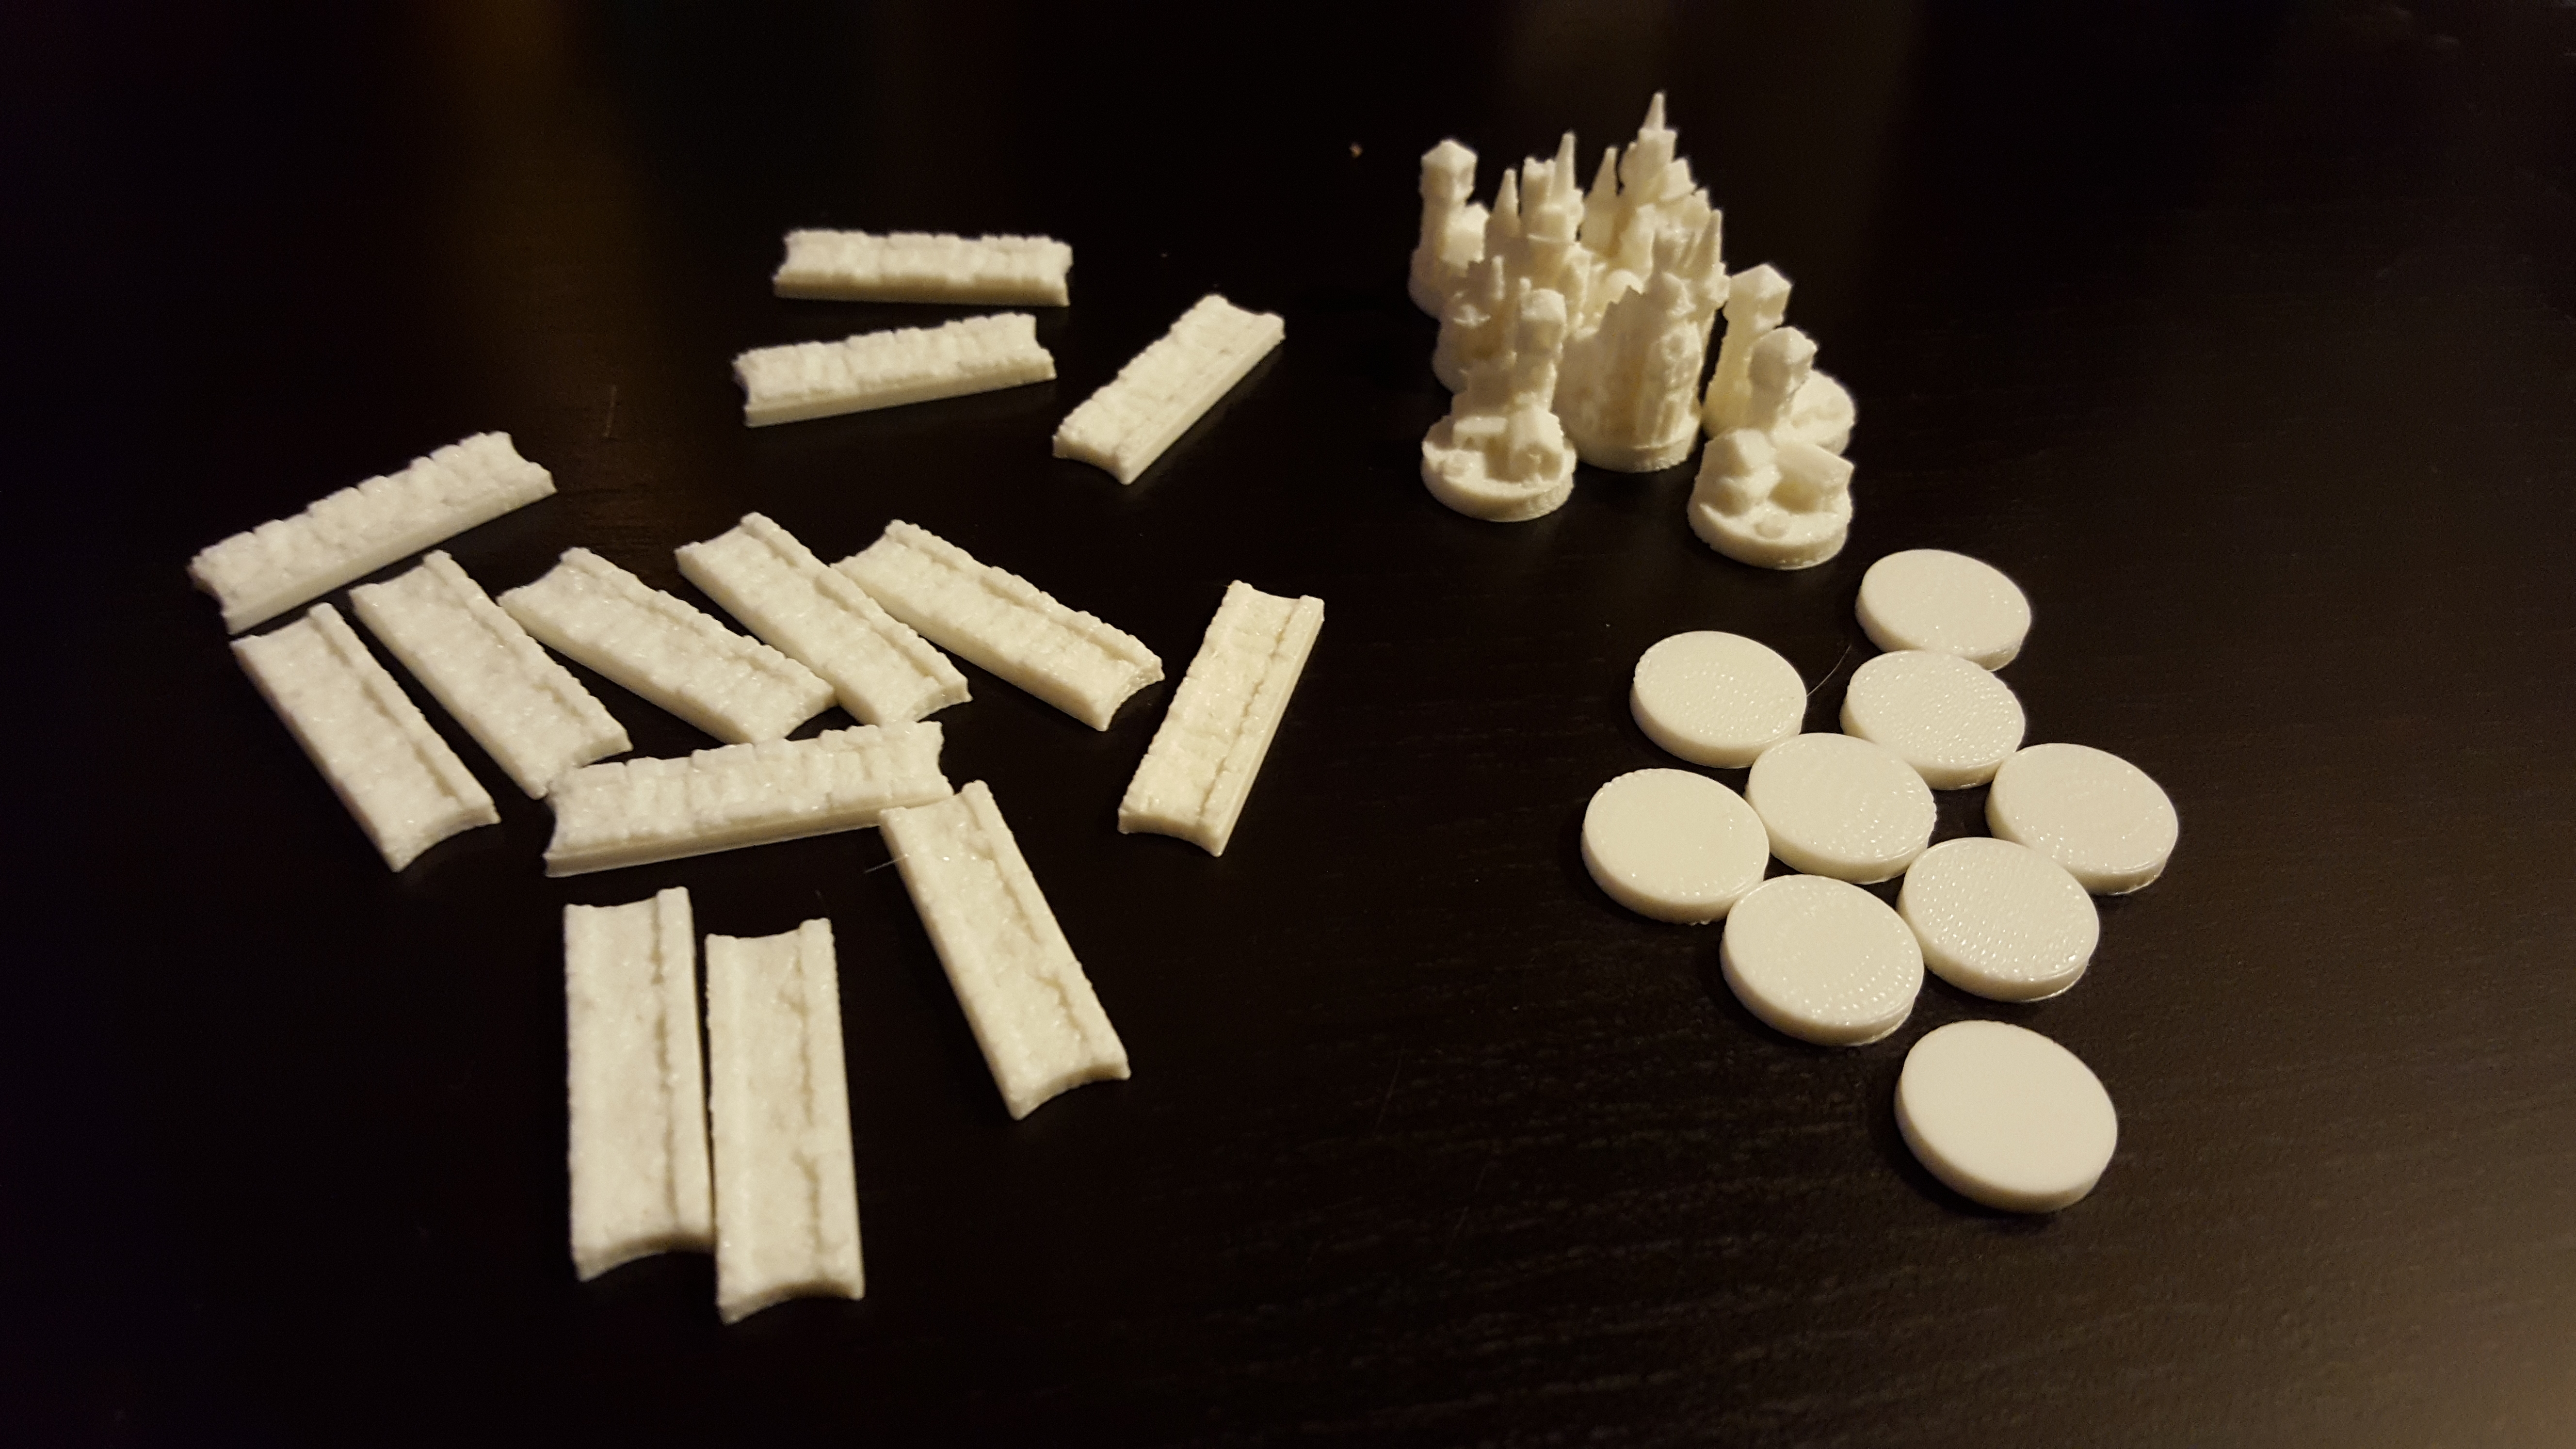
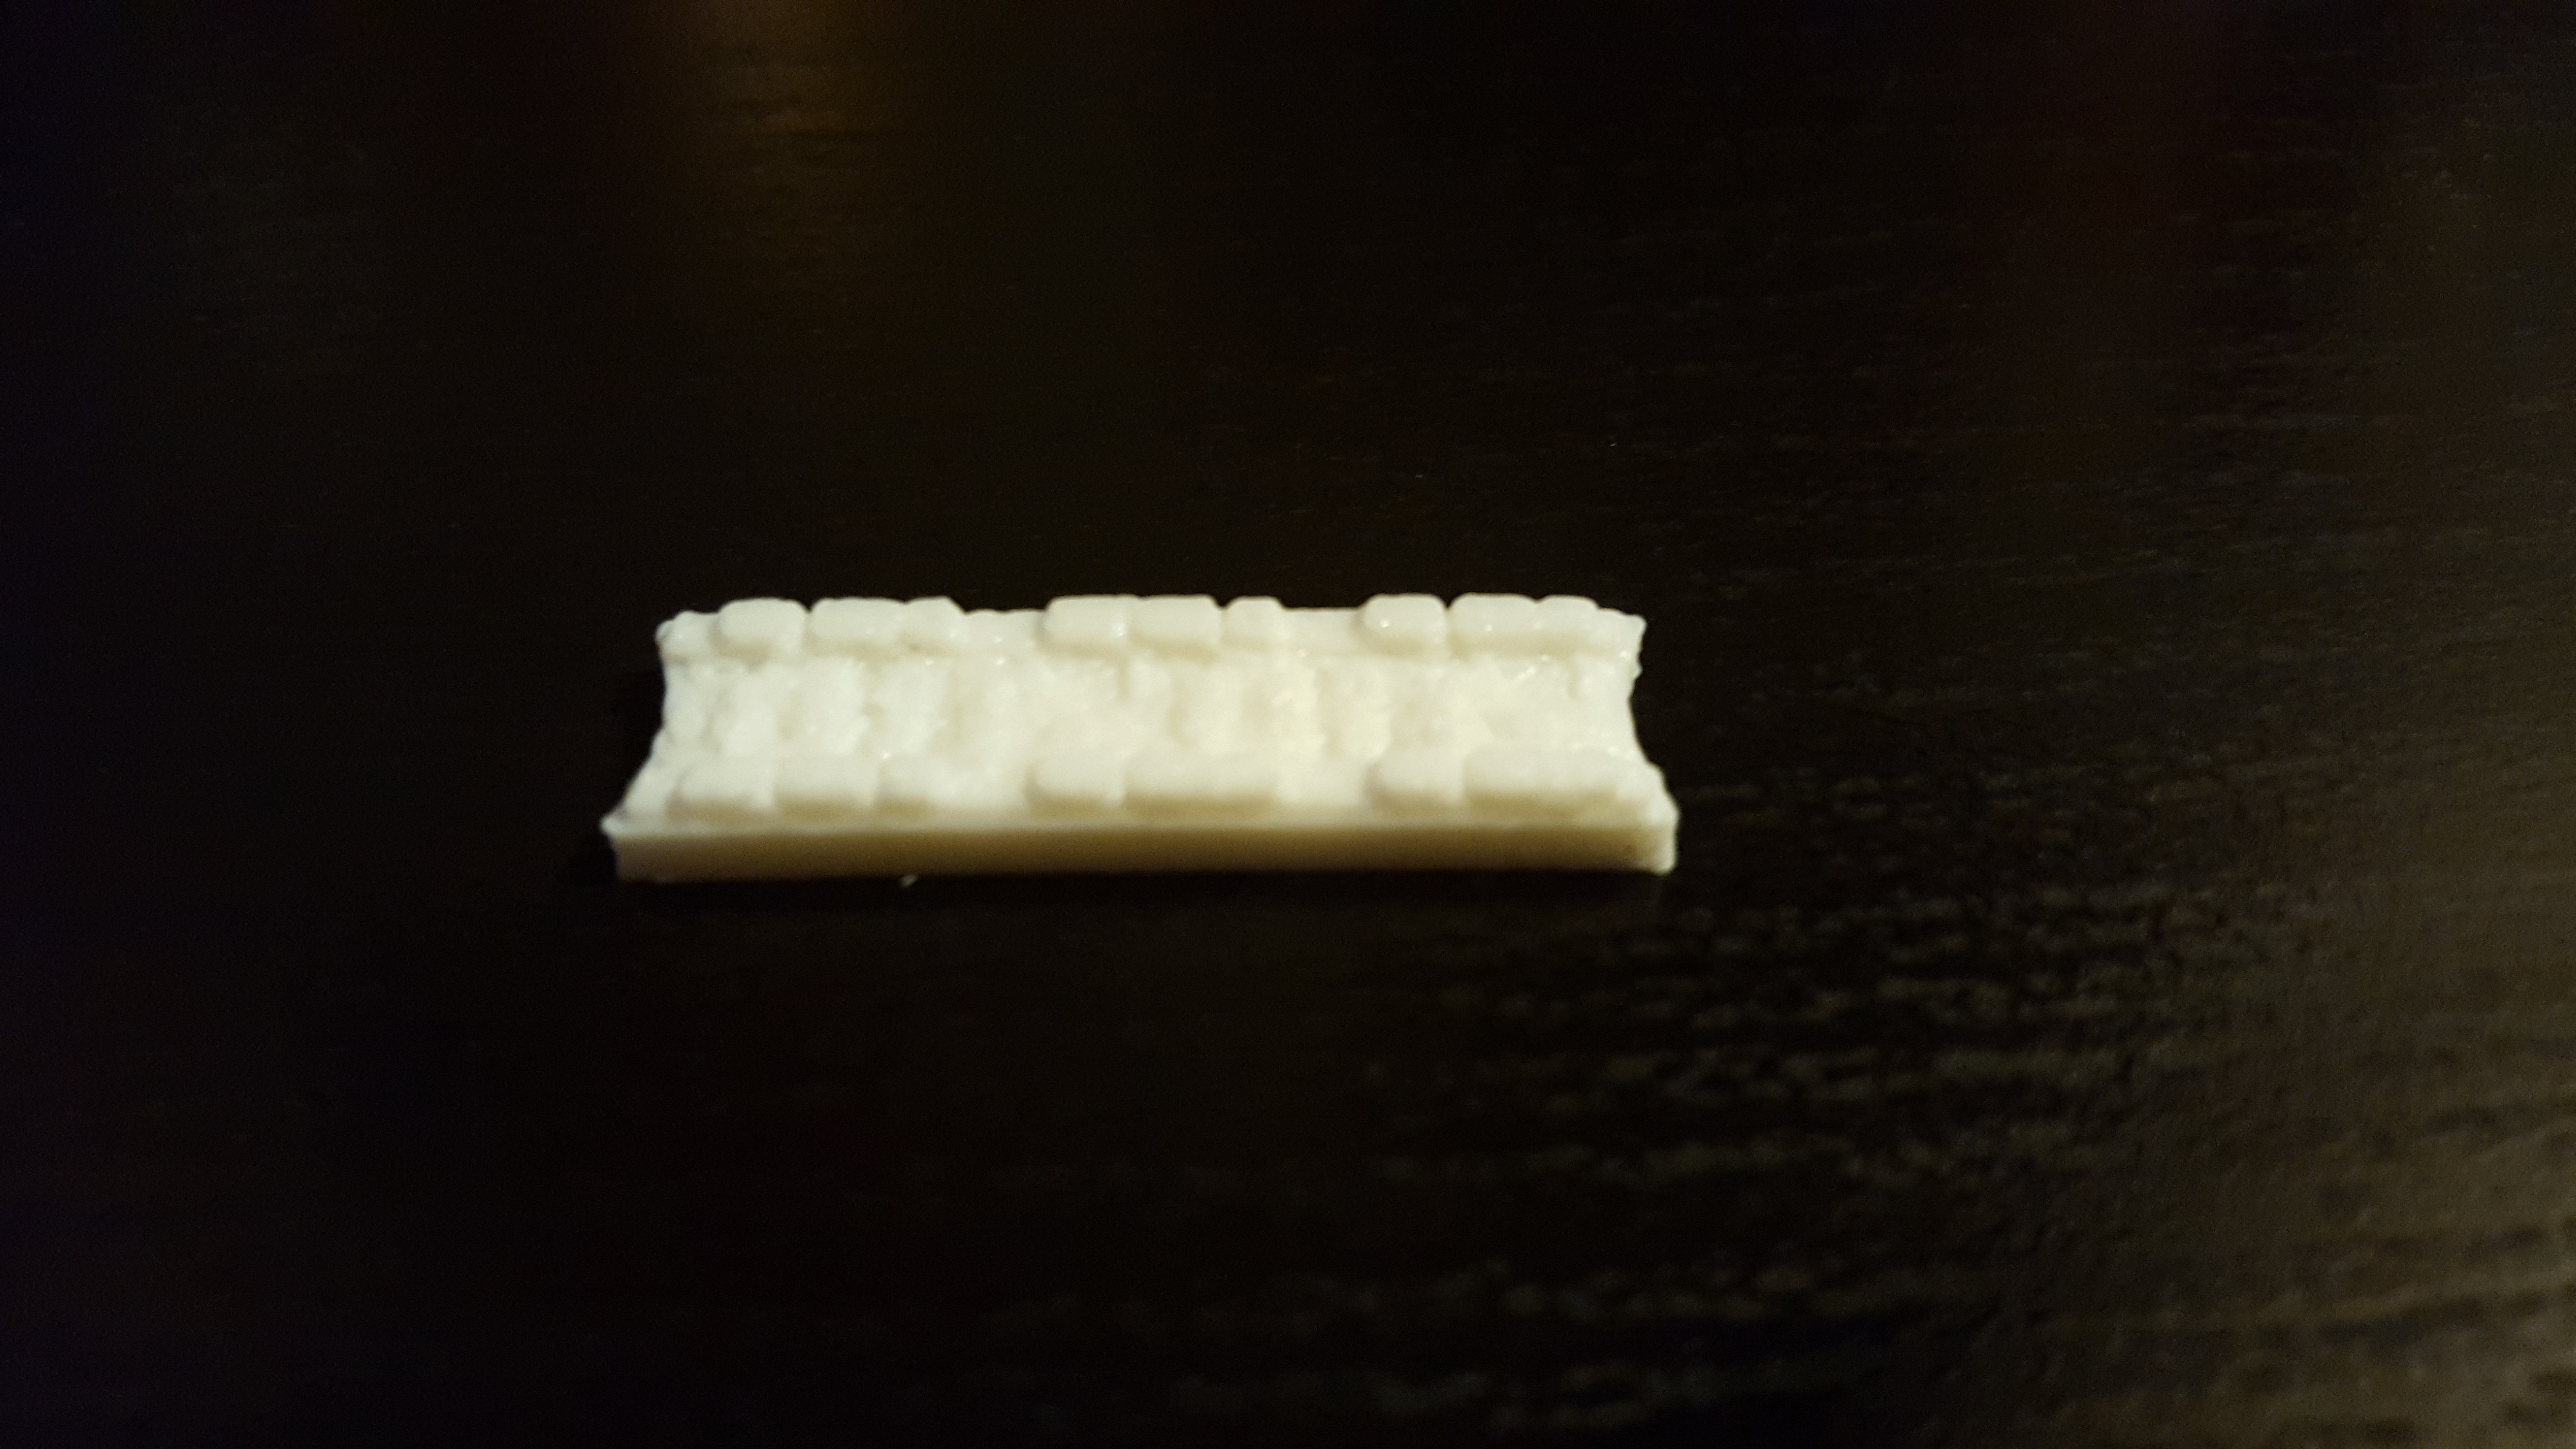
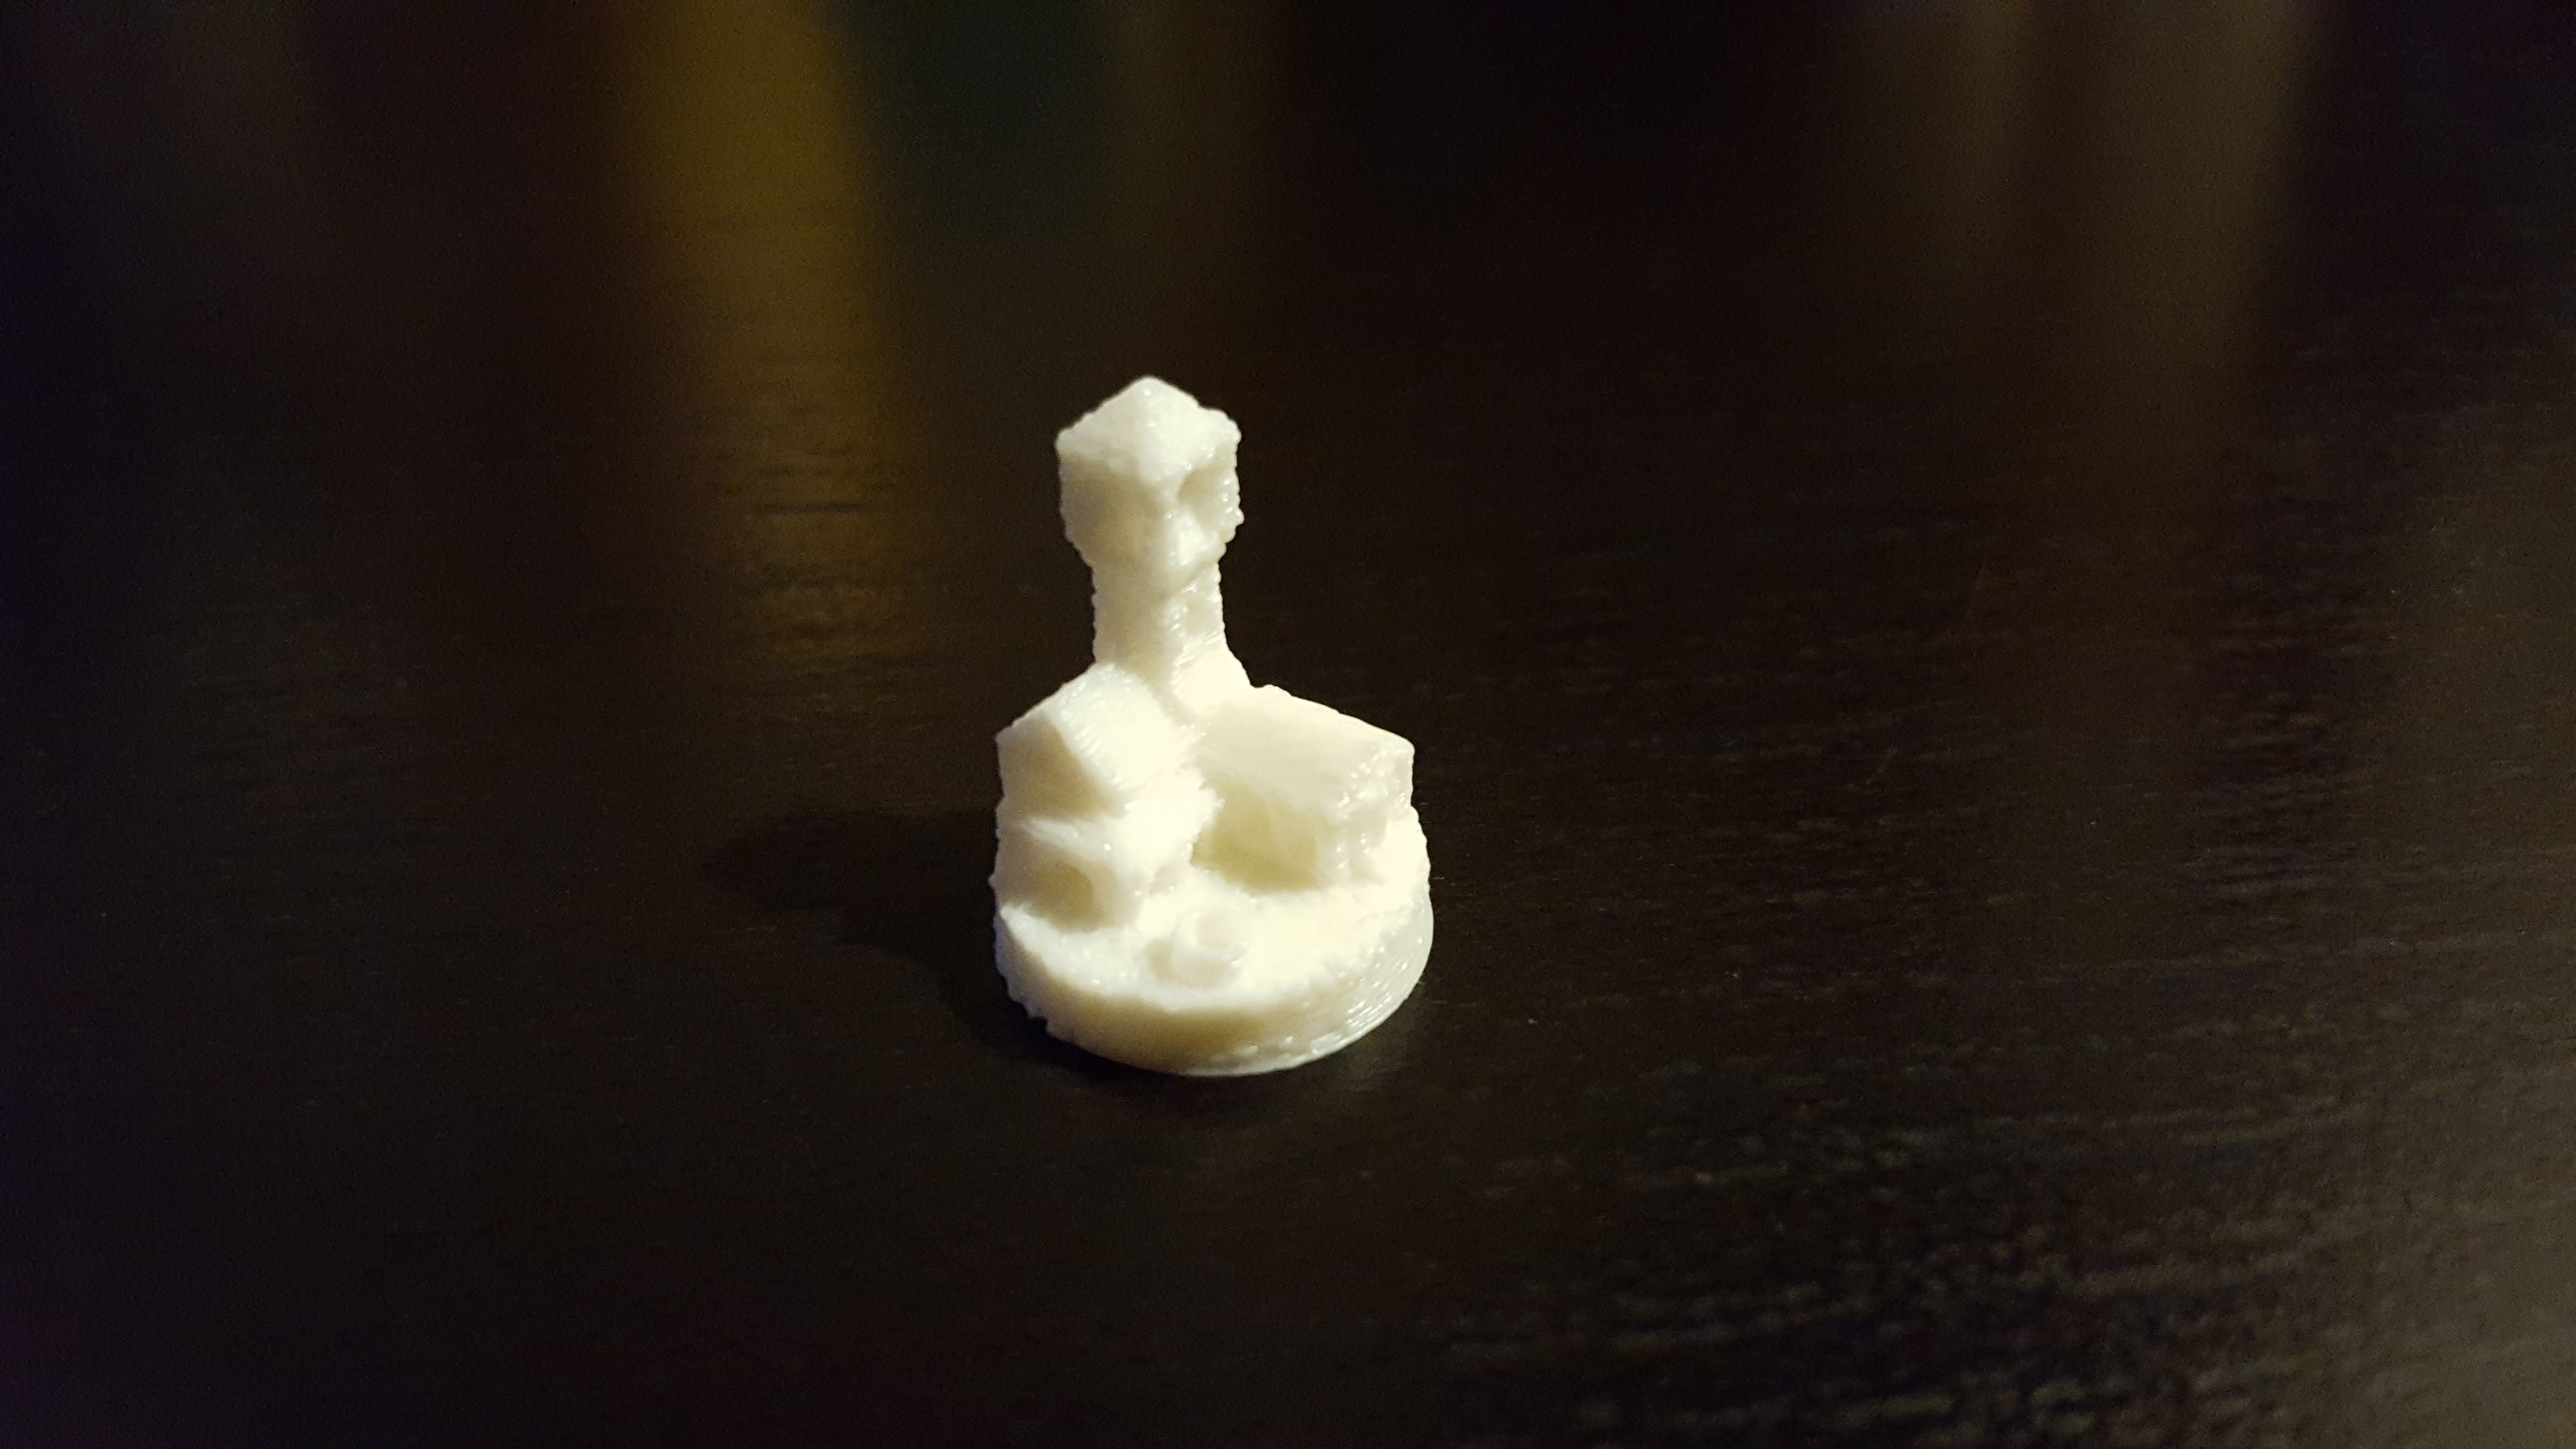
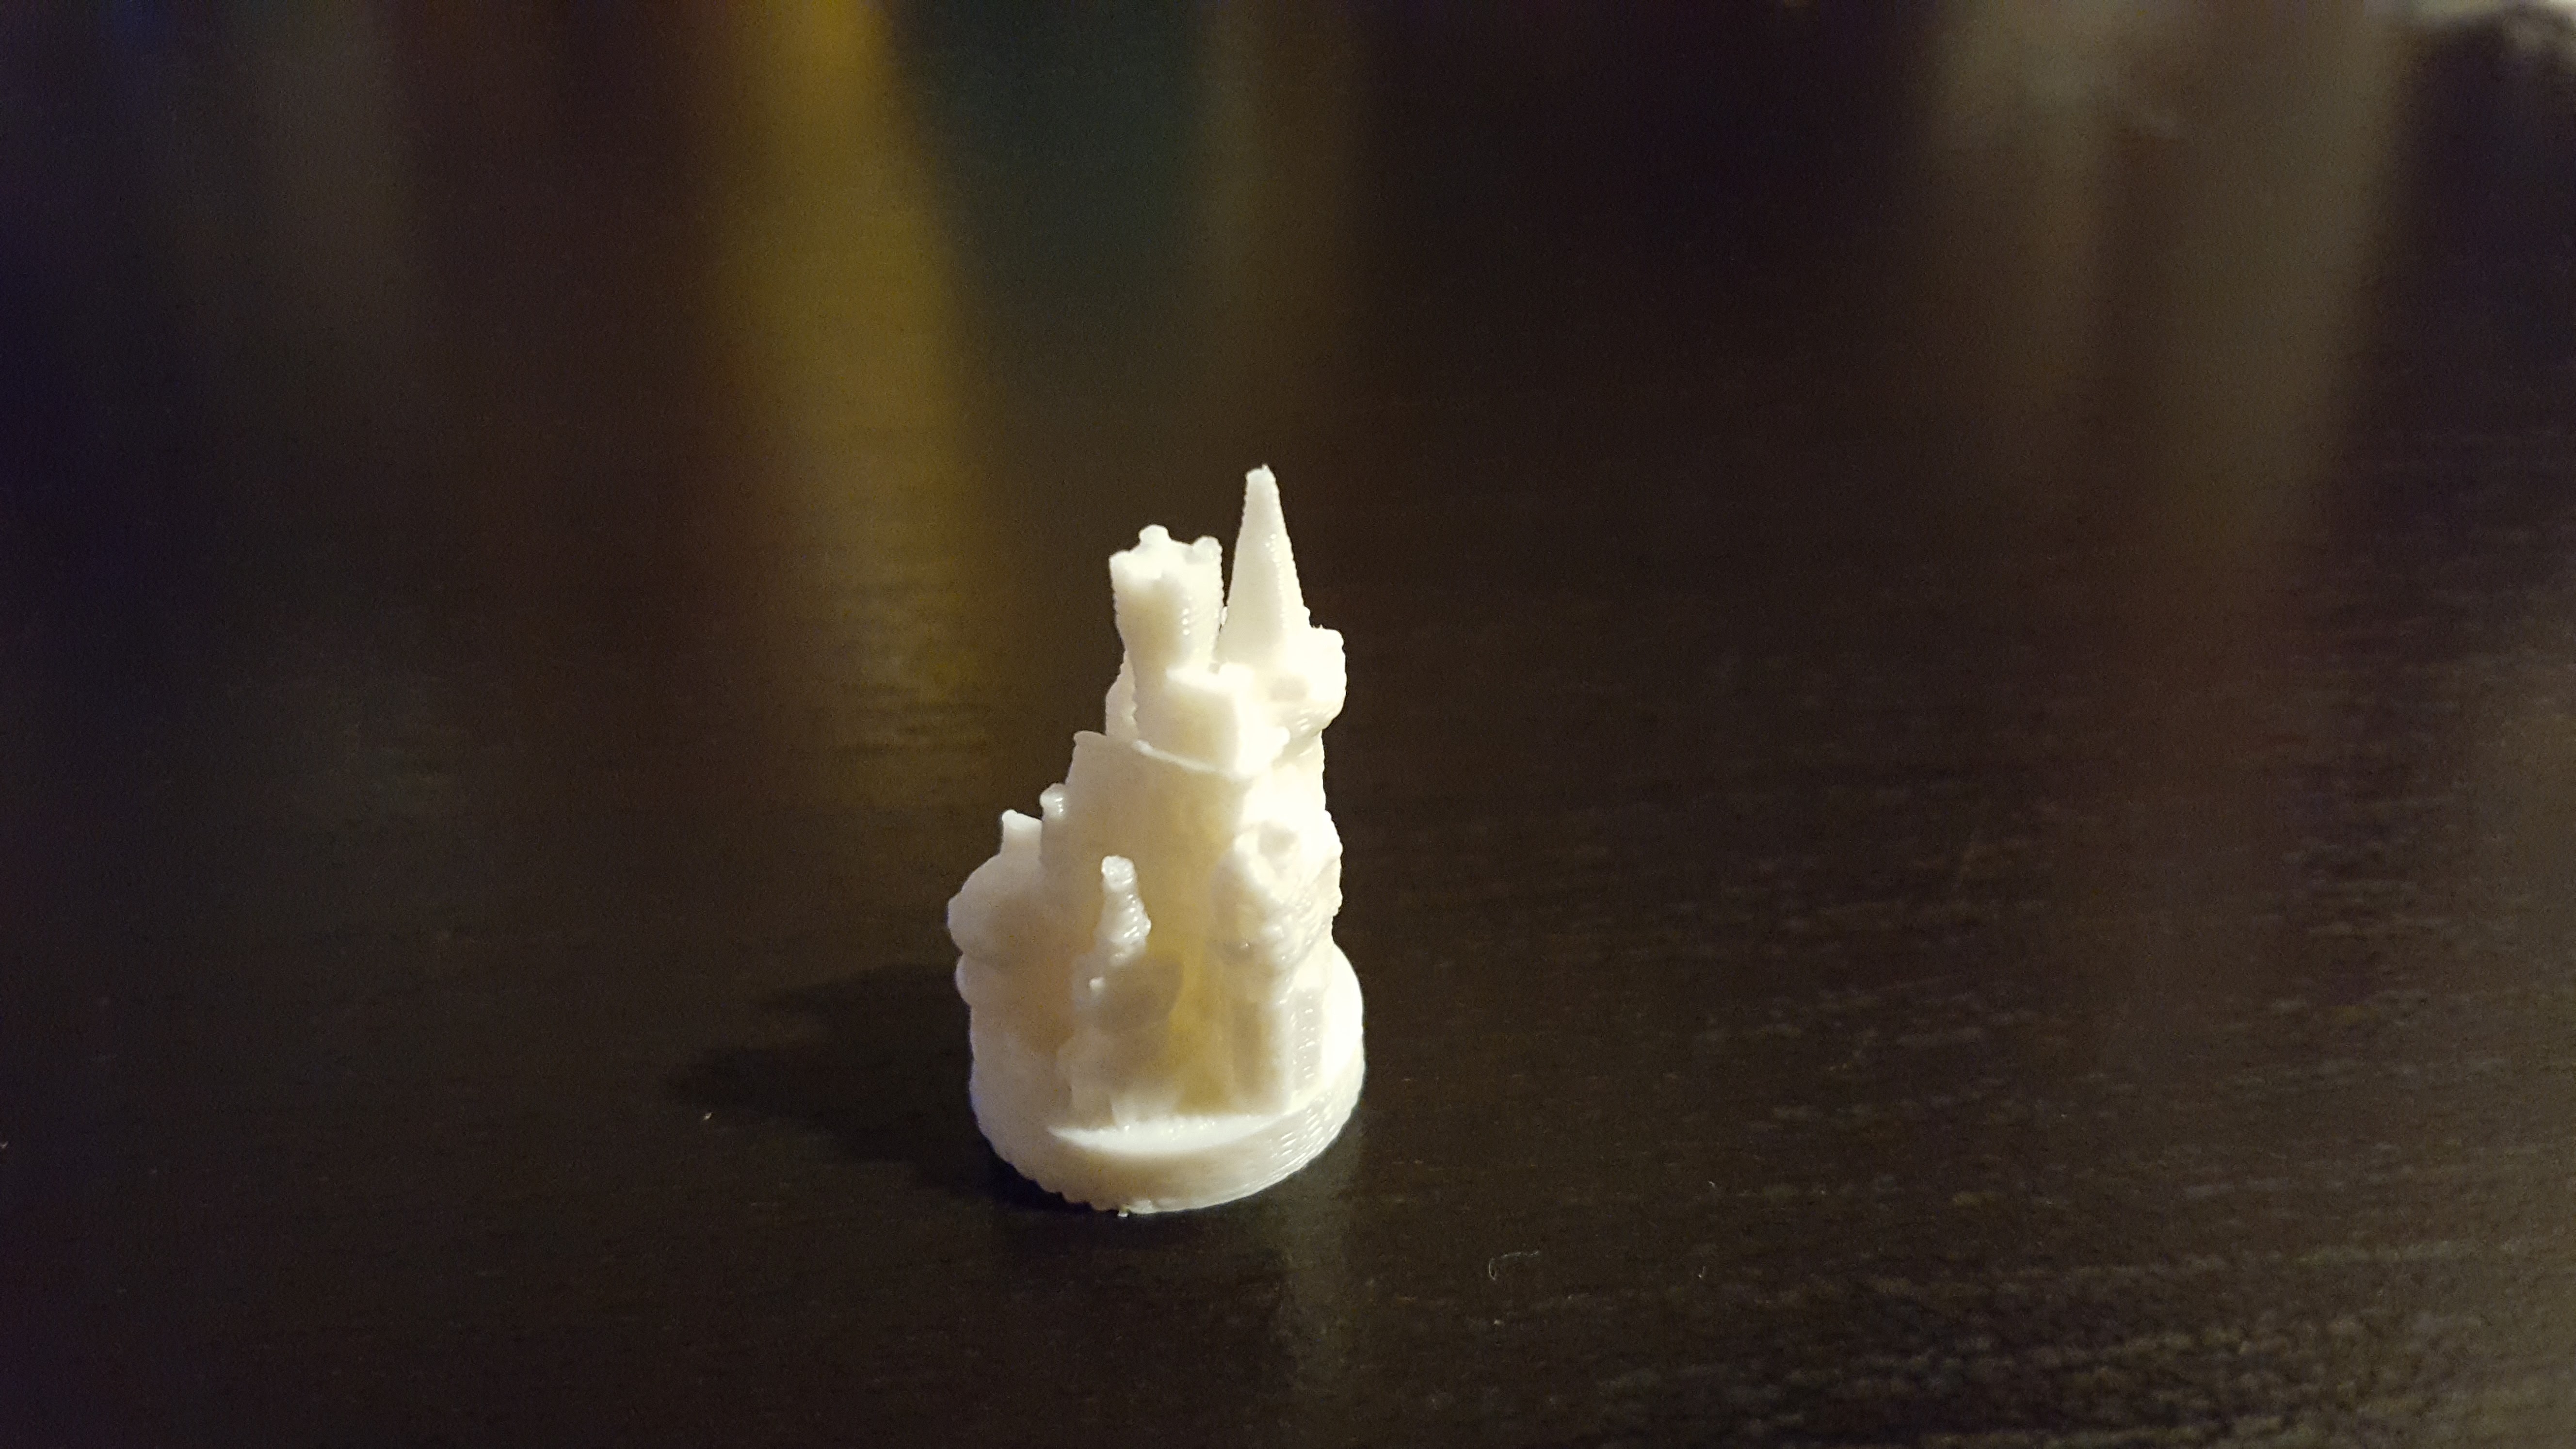
All primary tiles have been printed (I need to print one more desert), and I'm working on the individual game pieces (at least to start) today. I have printed a set of white settlements and cities (the model conveniently laid them out in a nice grid) and the roads. Tonight I'll be printing the disks that help connect the roads. I'll possibly also start on the number chips, as I can still print those in white. I'm going to need to order another spool of white to be able to make the hex brackets, though I may make them in a different color just because. Either way, I'm almost out of ABS.
Update today. Player pieces:
Nobody suggested to 3D point a 66 chevelle?
I'd need a much bigger print bed, sadly
Something like that
Non-picture update.
All but one hex tile have been printed: 6 wheat, 6 sheep, 6 clay, 6 ore, 6 wood, 2 desert, 11 harbor-bearing water, and 11 (one left to print) plain water tiles.
All of the harbor chips have been printed, 2:1 resource and 3:1 generic.
All of the number chips (for a 4 player game, need to lay out the 6 player additions) have been printed, though I might reprint at higher quality, since the letter didn't come through very well at 200.
I grabbed a big color sample pack which should be enough of each color for a set of player pieces in all 6 colors, so I'll start printing that next week.
To do: color player pieces, hex brackets for magnet mounting, and the BIG part: painting.
UNACCEPTABLE.
this is looking incredible, can't wait to see the finished project!